


Under-Cabinet Lighting Guide for North Shore Kitchens
On this page
- When to Specify It: During the Remodel, Not After
- A Note on Older North Shore Electrical Systems
- Types of Under-Cabinet Lighting
- LED Strip Lights
- LED Puck Lights
- Fluorescent and Halogen (Legacy and New Installs)
- Color Temperature and Color Rendering
- Dimming: Required, Not Optional
- Hardwired vs. Plug-In Installation
- Placement for Best Results
- Common Mistakes to Avoid
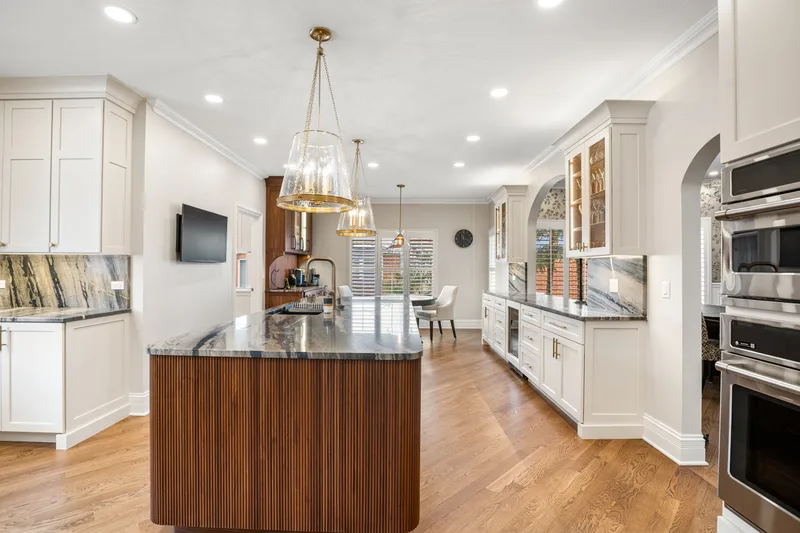
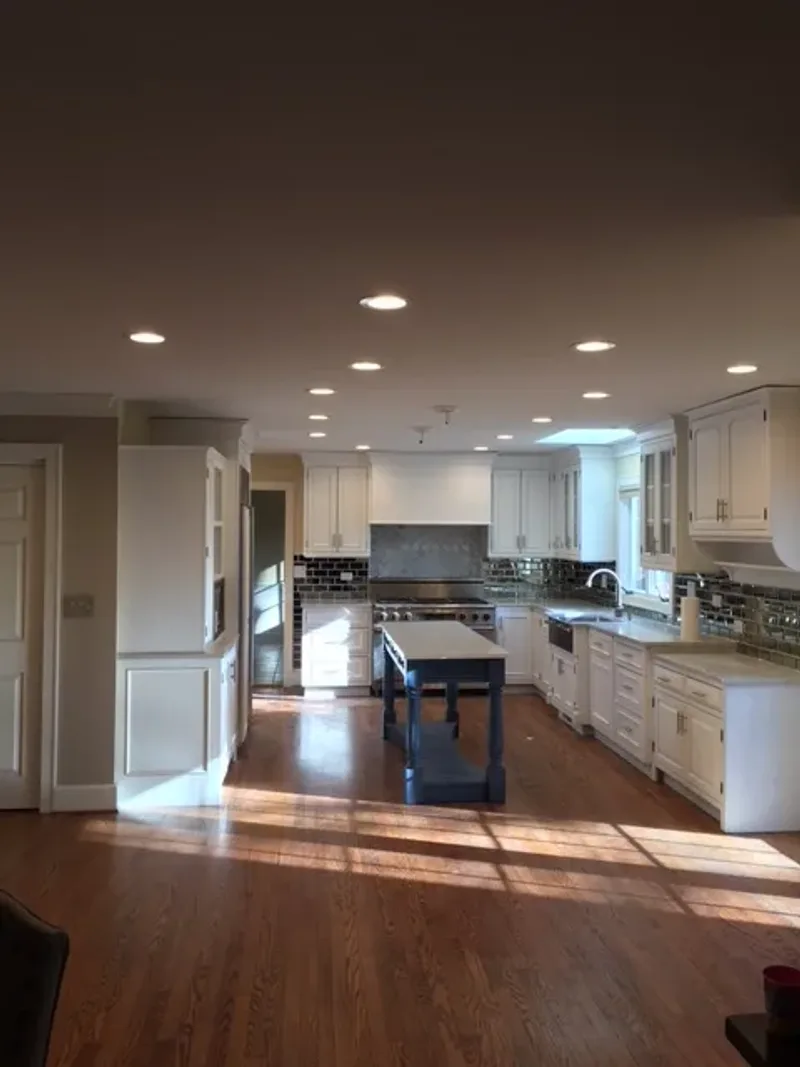
Overhead lights cast shadows on countertops because your body is between the light source and the work surface. Under-cabinet lights fix this by illuminating the counter directly, from the front edge of the cabinet down. For prep work, cooking, and reading recipes, the functional difference is immediate. A well-lit backsplash also changes the visual character of a kitchen more than most homeowners expect before they experience it.
The practical catch: adding under-cabinet lighting cleanly requires either doing it during the remodel or cutting open finished walls later. Here is what to know about fixture types, installation requirements, and the specific electrical considerations that apply to older North Shore homes - from Evanston's Craftsman bungalows to the 1960s-80s ranch stock in Northbrook and Glenview. Our kitchen remodeling services cover the full scope of electrical coordination, cabinet installation, and lighting design from early planning through completion.
When to Specify It: During the Remodel, Not After
The most important logistical point first. When walls are open and cabinets are being installed, wiring for under-cabinet lighting runs inside the wall and behind cabinets without visible conduit or surface-mounted raceways. The result is a finished installation with no exposed cord and no outlet required at the cabinet location.
Retrofitting under-cabinet lighting in a finished kitchen means one of two approaches: running cords to nearby outlets (which are rarely positioned where you want them, and which produce visible cord management at best) or opening finished walls to run new wiring - both messy and expensive compared to incorporating the work during a remodel.
If you are planning a kitchen remodel and under-cabinet lighting is on your list, it belongs in the initial scope, not as a separate later project.
A Note on Older North Shore Electrical Systems
Pre-1940 North Shore kitchens - Colonial Revivals in Wilmette, Tudor estates in Winnetka, Arts and Crafts homes in Kenilworth and Evanston - frequently have knob-and-tube wiring that predates modern grounding requirements. Knob-and-tube has no equipment ground and its shared neutrals cause chronic nuisance tripping of GFCI and AFCI devices, which are required on any new kitchen circuits under current code. The North Shore villages built out heavily between the 1890s and 1920s - Kenilworth platted in 1889, Wilmette and Winnetka building through the 1890s to 1920s, Evanston carrying Victorian and Craftsman housing from that same era - which means a significant fraction of the housing stock in these municipalities has this wiring as its baseline.
The practical consequence for under-cabinet lighting: adding new circuits in a pre-war kitchen often requires an electrical assessment first. If the panel is undersized (original 30 to 60 amp service is not uncommon in pre-1940 North Shore homes), a panel upgrade is typically required before new circuits can be added - running roughly $1,400 to $5,000 depending on service size and access. Homes built between 1965 and 1973 have a separate concern: some carry single-strand aluminum branch-circuit wiring (AA-1350 alloy), which requires COPALUM or AlumiConn connectors on any modified connections. This wiring type is concentrated in the postwar buildout areas: Northbrook ranches from that era, Glenview split-levels, and the 1960s-70s subdivisions of Skokie and Deerfield. The CPSC has documented that these connections are 55 times more likely to reach fire-hazard temperatures than copper-wired equivalents.
This is not a reason to skip under-cabinet lighting. It is a reason to get an electrical assessment early in the planning process so the scope and cost are known before cabinet layouts are finalized.
Types of Under-Cabinet Lighting
LED Strip Lights
LED strip lights are the most commonly specified type for residential kitchen under-cabinet applications. They are flexible ribbon fixtures with LEDs mounted at regular intervals, available in various densities and color temperatures.
The functional advantages are genuine: continuous illumination along the full cabinet run with no dark spots between fixtures, low profile (most LED strips are under 5mm thick), low heat output safe for wood cabinetry, and a rated lifespan of 25,000 to 50,000 hours for quality products.
The main variable is product quality. Consumer-grade strips from generic suppliers use lower-bin LEDs that shift in color temperature over time and lose output significantly faster than their rated hours suggest. Contractor-grade strips from established manufacturers maintain consistent output and color over their rated lifespan. The price difference is modest relative to the cost of a kitchen remodel; the performance difference over five to ten years of daily use is not.
LED Puck Lights
Puck lights are individual circular fixtures, typically 3 to 4 inches in diameter, mounted at intervals under the cabinet. They create pools of light rather than continuous illumination, which produces darker zones between fixtures.
Puck lights are appropriate for accent lighting or display cabinet interiors. They are not the right choice for task lighting over an active prep counter - the dark zones between fixtures are exactly where the work surface goes.
Fluorescent and Halogen (Legacy and New Installs)
Some older North Shore kitchens have under-cabinet fluorescent strips from previous remodels - adequate light output, not dimmable, less efficient than LED, and prone to flickering as they age. Worth replacing with LED during a remodel.
Xenon and halogen fixtures produce warm, accurate color rendition but generate significant heat and use more energy than LED. They are not a practical choice for new installations. LED now replicates the warm color temperature of halogen without the heat penalty.
Color Temperature and Color Rendering
Color temperature, measured in Kelvin, determines whether the light appears warm or cool.
- 2700K to 3000K: Warm white, similar to incandescent. Flattering to wood cabinetry, warm-toned countertops, and food. The right choice for most residential kitchens.
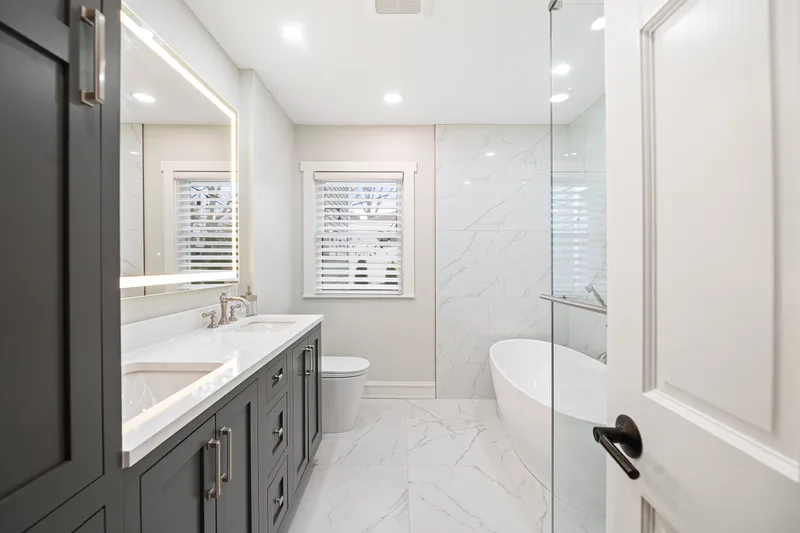
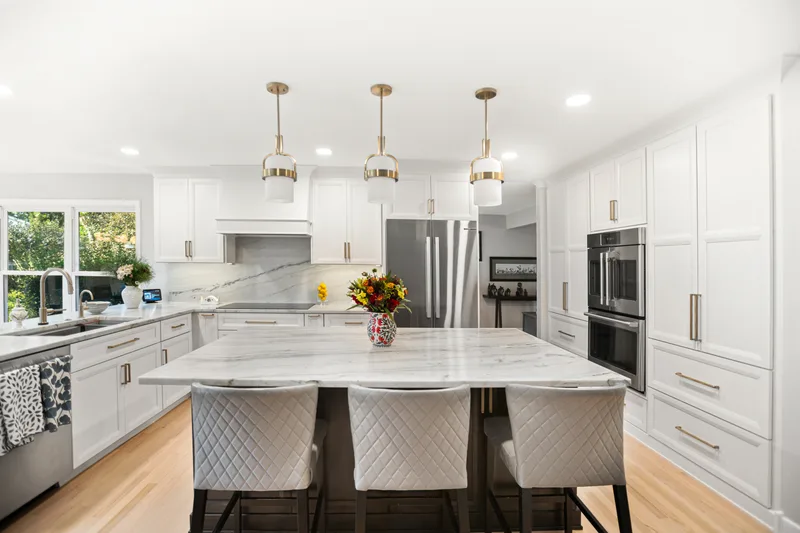
- 3500K to 4000K: Neutral white. Works well in contemporary kitchens with white or gray finishes where a slightly crisper light suits the palette.
- 5000K and above: Daylight. Creates a clinical environment that most homeowners find uncomfortable in a kitchen setting.
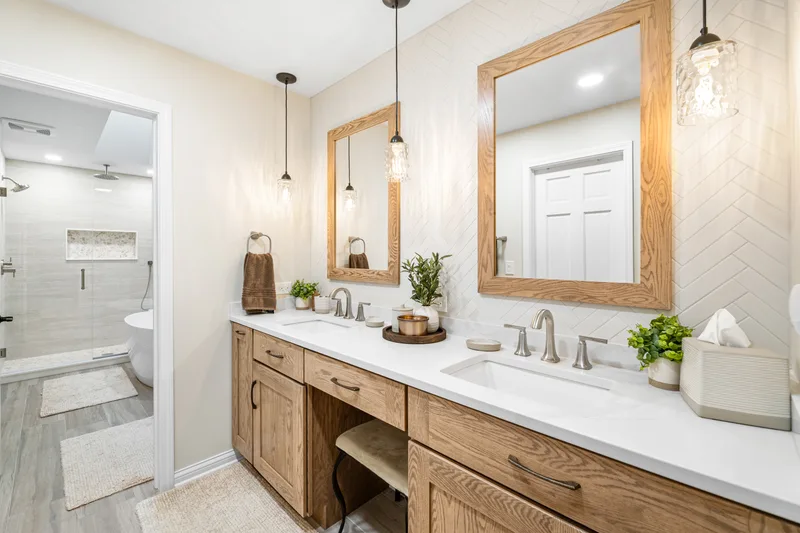
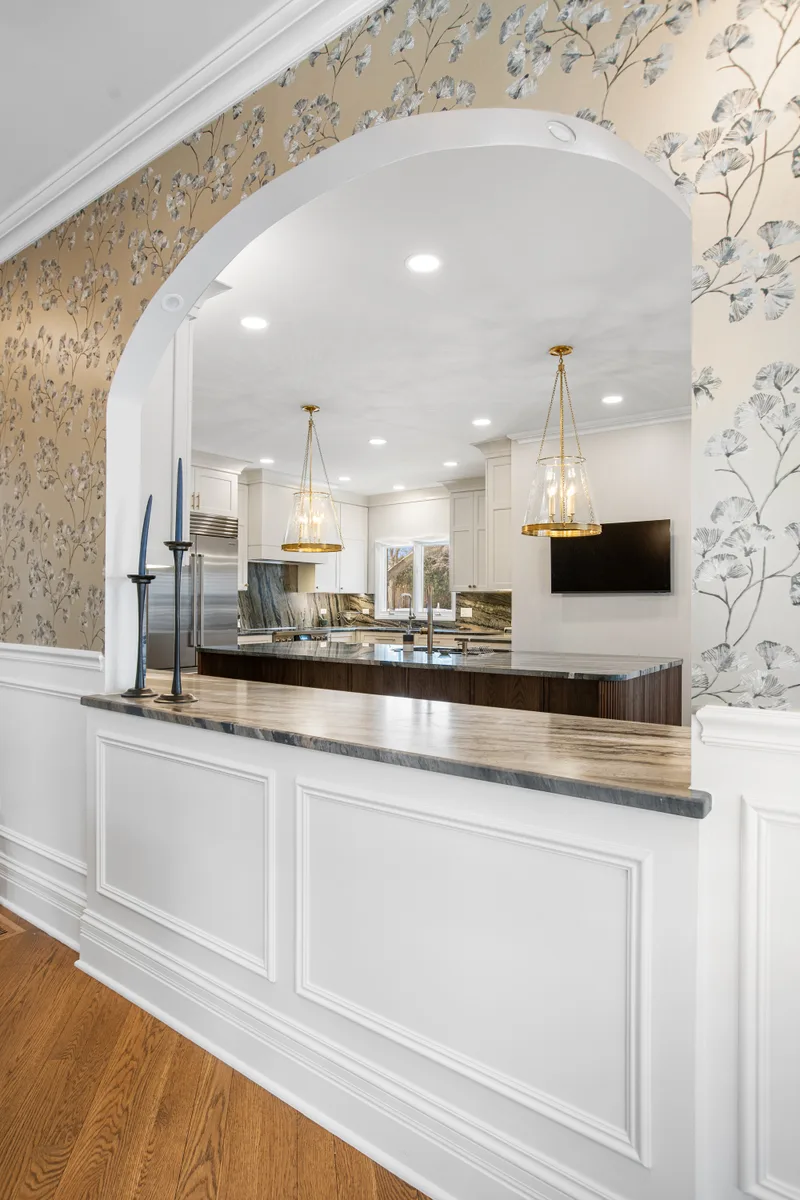
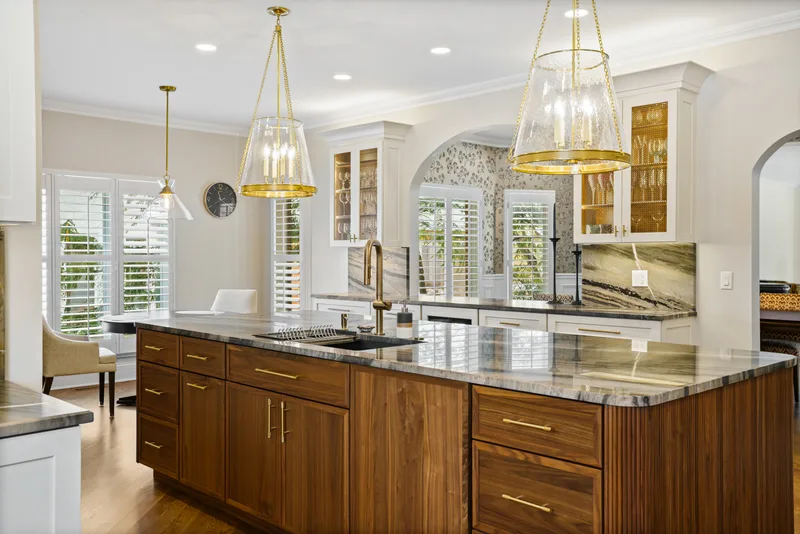
For kitchens with warm wood cabinetry - walnut islands, oak floors, or original pre-war millwork - 2700K is worth specifying specifically. The warmer temperature complements wood tones in a way that 3500K or above does not. In the Tudor and Georgian estate kitchens common in Winnetka's Hubbard Woods and Indian Hill neighborhoods, where surviving original oak and walnut millwork sets the material baseline, specifying 2700K under-cabinet lighting is not a preference - it is the only choice that does not visually damage the warmth the original materials create.
Color Rendering Index (CRI) measures how accurately a light source renders colors. CRI 90 or above is the standard recommendation for kitchens where you are working with food and want accurate color perception. Most quality LED strips are available at 90+ CRI; this spec is worth confirming before ordering.
Dimming: Required, Not Optional
Under-cabinet lighting in a kitchen should be dimmable. The kitchen serves different functions at different times of day: bright task lighting for morning prep, softer ambient light for evening meals, low accent lighting when the kitchen is not in active use. A dimmable system handles all of these without multiple fixture types.
Dimming LED under-cabinet fixtures requires matched components throughout: a dimmable LED strip or fixture, a compatible LED driver or transformer, and a compatible dimmer switch. Mixing incompatible components causes flickering, buzzing, or a limited dimming range that makes the system effectively useless at low levels. A contractor specifying under-cabinet lighting should confirm compatibility across all three components before anything is ordered.
Smart dimmers and scene controls can integrate under-cabinet lighting with a broader home automation system - useful if smart home features are already part of the remodel scope.
Hardwired vs. Plug-In Installation
Hardwired installation routes line voltage (120V) from a junction box to a driver or transformer mounted inside the cabinet or wall, then low-voltage wiring to the LED strips. No cord, no outlet required at the cabinet location. This is the professional installation approach for a kitchen remodel.
This work requires a licensed electrician in Illinois and a permit for new wiring runs per ICC/IRC building code requirements. In North Shore municipalities with design review commissions - Wilmette's Community Development Department requires permits for electrical work - this is a standard part of the kitchen permit scope. Northbrook operates with a stricter contractor qualification step than most surrounding villages: the Village of Northbrook Development and Planning Services Department requires plumbing, electrical, and general-contracting trades to each hold a Village-issued license before pulling a permit. Any electrician planning work in Northbrook should confirm their Village license status before the permit application is submitted, or the application will be rejected and the schedule will slip.
Plug-in systems run a cord from the fixture to a nearby outlet. Easier to install, but cords are visible unless managed behind cabinets in a way that may not look finished. Outlets under cabinets are not standard in most kitchens. For a retrofit without opening walls, plug-in systems are a practical compromise if the cord can be managed cleanly. For a new kitchen remodel, hardwired installation is the right approach.
Placement for Best Results
Where the fixture mounts on the underside of the cabinet affects both light distribution and whether the LED source is visible from standing height.
Too far forward: the fixture enters the sightline of anyone at counter height, making the LED source visible and creating glare. Too far back: light concentrates at the wall and backsplash rather than the work surface.
The general guideline is approximately one-third of the way back from the front edge of the cabinet - close enough to illuminate the counter, far enough back to be hidden from normal eye levels at the counter.
Light rail molding - a small trim piece installed on the bottom front edge of upper cabinets - conceals the fixture completely and gives the installation a finished appearance. This detail is standard in quality kitchen installations and costs little relative to its visual contribution. Kitchens without it tend to look unfinished along the bottom cabinet edge regardless of how clean the rest of the work is.
Common Mistakes to Avoid
Consumer-grade LED strips. The per-foot price difference is modest at order time; the performance difference at year five or six of daily use is significant. Specify contractor-grade products.
Skipping the light rail. Visible LED strips along the cabinet underside look unfinished and create glare at counter height. Light rail is an inexpensive trim addition.
Mismatched dimmer components. Incompatible drivers and dimmer switches cause flickering that cannot be fixed without replacing components. Confirm compatibility across all three components before purchasing.
Treating it as a future project. Retrofitting under-cabinet lighting in a finished kitchen is the most expensive and most disruptive way to add it. The time to include it is during the remodel.
Under-cabinet lighting is among the best return-per-dollar improvements in a kitchen remodel - it improves daily function immediately, changes how the kitchen looks at every time of day, and adds modest cost when done during the remodel rather than as a retrofit. For more on the cabinet and storage decisions that complement good lighting, see our guides on kitchen cabinet remodel ideas and kitchen storage solutions.
Delta - Bathroom and Kitchen Remodeling handles kitchen remodels across the North Shore - including Evanston, Wilmette, Northbrook, and surrounding communities - covering lighting design and electrical coordination as part of full project scope. Contact us to discuss your project, or learn more about our kitchen remodeling services.
Ready to Start Your Project?
Schedule a free consultation. We bring design ideas, material samples, and honest answers.
Get Free Consultation