


Accessible Bathroom Design Guide
On this page
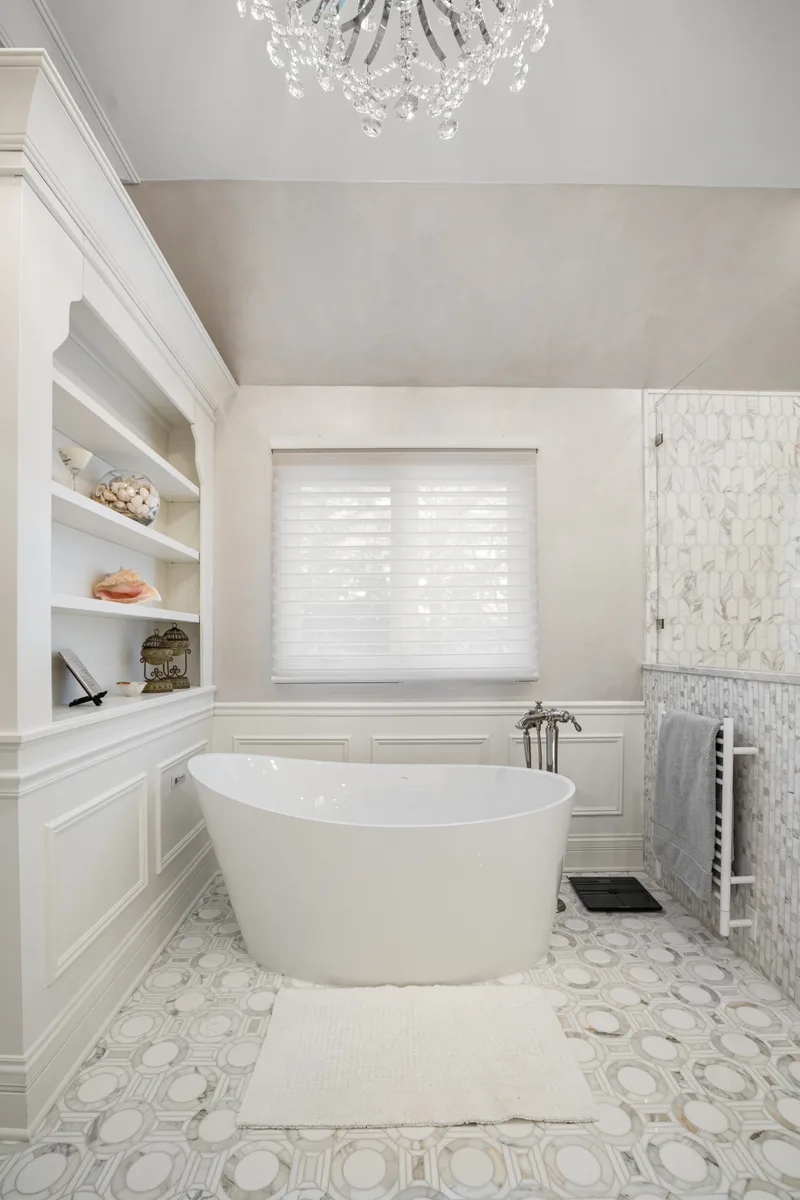
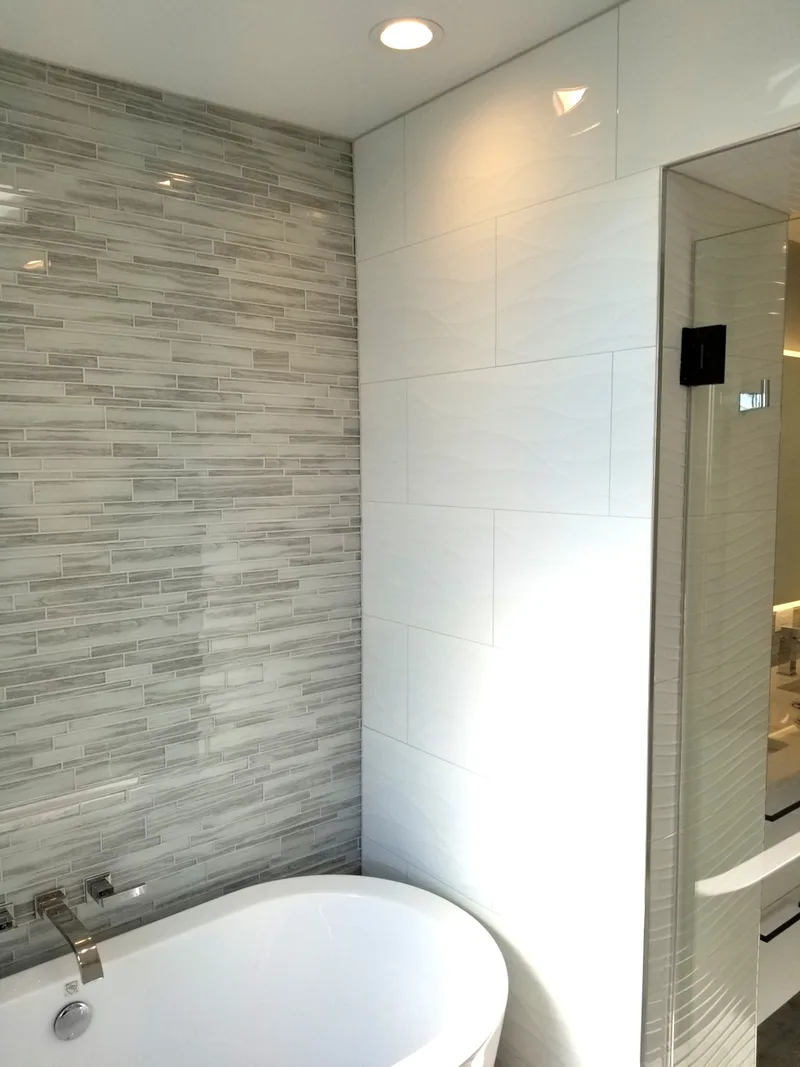
The accessible features that look institutional are almost always the ones added afterward. A grab bar retrofitted to a wall without blocking, a shower bench bolted to drywall that cannot carry the load, a ramp threshold glued over an existing curb - these read as medical accommodations because they were not part of the original design. When accessibility is built in from the start, the decisions look like considered design choices. A curbless shower with a linear drain and honed marble is not an accommodation. It is a bathroom.
Our accessible bathroom design process covers scoping, structural requirements, and scheduling for projects like this.
The Standards That Govern Accessible Design
Accessible bathroom design in residential projects is guided by two primary documents: ANSI A117.1-2017 (Accessible and Usable Buildings and Facilities) and the ADA 2010 Standards for Accessible Design.
The ADA legally applies to public accommodations and commercial facilities - not private homes. But the ADA 2010 Standards and ANSI A117.1 are the most thoroughly researched set of residential accessibility dimensions available. ANSI A117.1-2017 is referenced in residential building codes in many jurisdictions and serves as the practical benchmark for residential accessible design.
Key dimensions from these standards that apply to bathroom design:
- Doorway clear width: 32 inches minimum, 36 inches preferred for wheelchair access
- Turning space: 60-inch diameter circle or equivalent T-turn
- Grab bar load requirement: walls must be reinforced to support 250 lbs of force in any direction (ADA 2010 Standards section 609.8)
- Grab bar gripping surface height: 33-36 inches above the floor
- Shower entry: zero threshold (curbless) for maximum accessibility
- Accessible toilet seat height: 17-19 inches, vs. standard 14-16 inches
- Transfer shower dimensions: exactly 36"x36"
- Standard roll-in shower: 60"x30" minimum
These are not arbitrary numbers. They reflect actual reach envelopes, transfer movements, and clearance requirements documented over decades of research.
Doorways, Entry, and the Pre-War Problem
The bathroom entry is often the first obstacle in North Shore homes - and it is a structural one. Pre-1980 bathroom doors on the North Shore commonly measure 28-30 inches. That does not accommodate a wheelchair. For comfortable wheelchair access, the clear door opening needs to be at least 32 inches; 36 inches is the preferred dimension.
Widening a non-load-bearing doorway runs approximately $600-$2,000. Widening a load-bearing doorway requires a structural engineer, a proper header, and corresponding work above the opening - meaningfully more. In pre-war Kenilworth and Winnetka homes with balloon framing (studs that run full height from sill to roof), doorway widening is a job for an engineer, not a straightforward carpentry task. For the oldest Kenilworth properties, a December 2023 amendment to the village's demolition ordinance added Building Review Commission consideration for properties on the Historic Survey list - while doorway widening is interior structural work and typically does not trigger that review, any project that touches exterior walls or fenestration on a listed property should be confirmed with the Village of Kenilworth Building and Planning Division at 847-251-1666 before construction begins.
In Wilmette, projects exceeding $25,000 or involving structural work require a licensed architect or engineer stamp, per the Village of Wilmette Community Development Department. A full accessible bathroom conversion with joist modification, curbless shower, and doorway widening often crosses both thresholds.
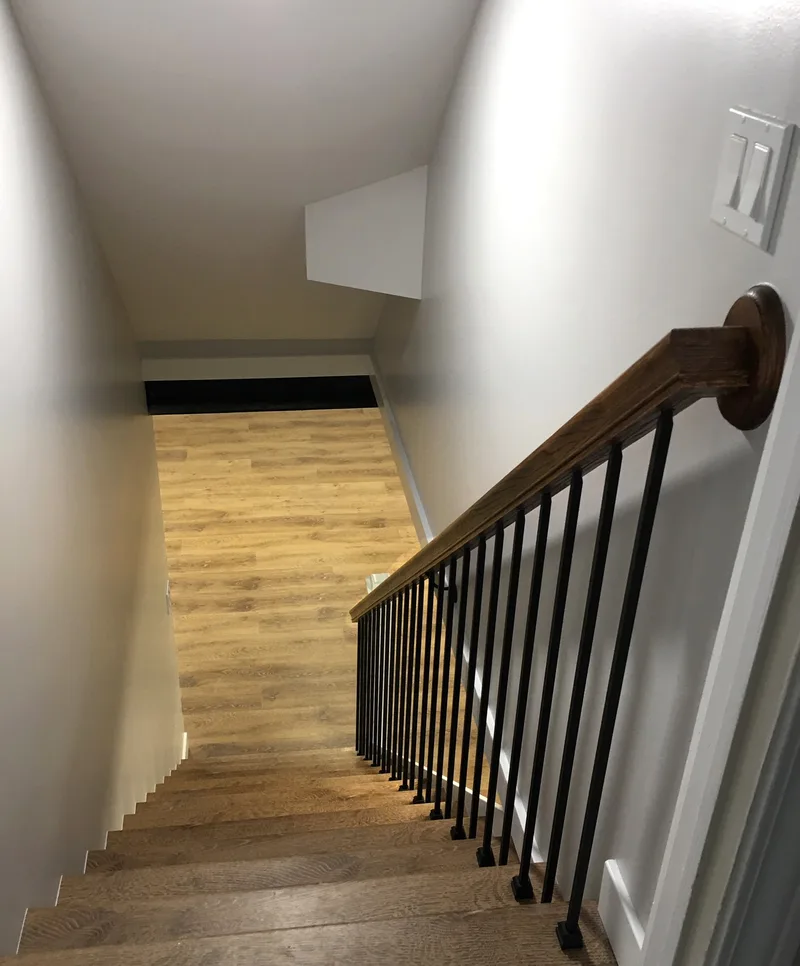
The floor transition at the bathroom entry should be level or as close to level as possible. Even a half-inch threshold creates a real barrier for wheelchair users and a trip hazard for everyone. NAHB CAPS specifies maximum 1/4-inch interior transitions for accessible design. Eliminating a raised threshold during a remodel is a straightforward change with significant impact.
Within the bathroom, a 60-inch turning radius allows a wheelchair user to reposition without backing out. Most 5x8 bathrooms - the standard layout in pre-war North Shore homes in Wilmette, Winnetka, and Kenilworth - cannot achieve this without moving a fixture. That means planning for plumbing relocation costs. Northbrook and Glenview ranch homes from the 1950s-1970s sometimes have slightly larger hall bathrooms, but 5x8 is common there too; the same constraint applies.
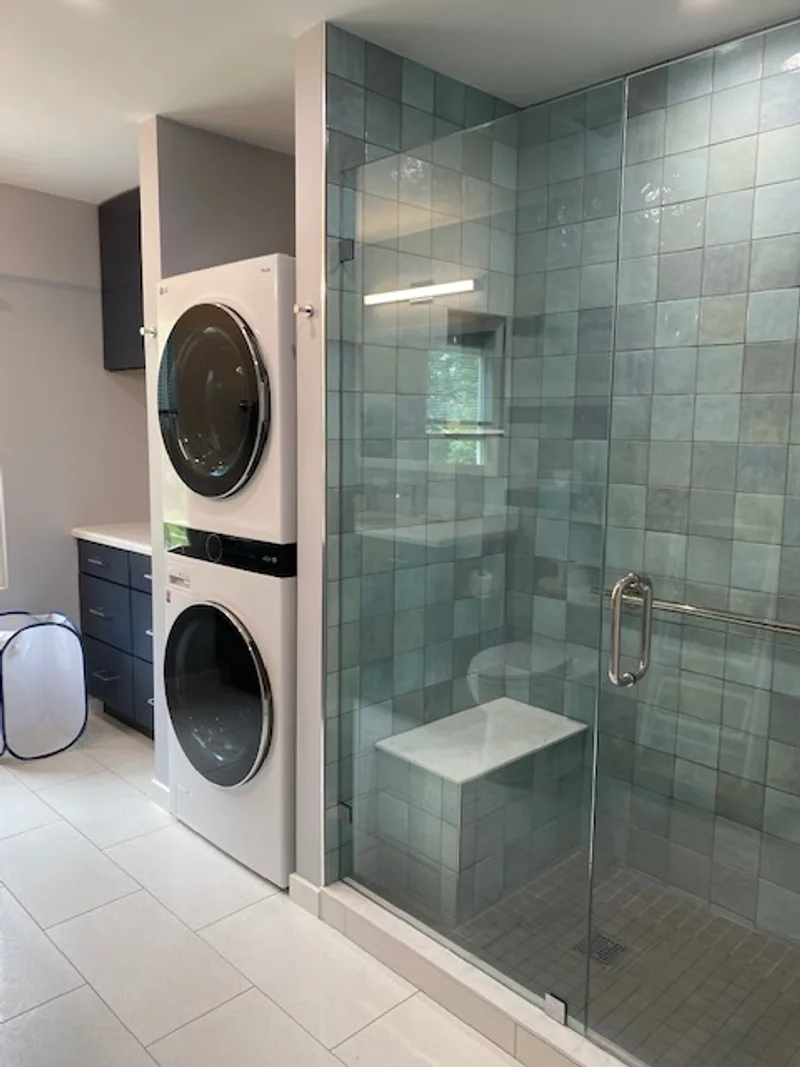
Shower Access: The Structural Requirements Matter
For most accessible bathroom remodels, the shower is the primary focus. The two most impactful changes are eliminating the threshold and adding a built-in bench.
Zero-threshold (curbless) showers allow entry without stepping over anything. The floor transitions seamlessly from the bathroom floor into the shower area. The subfloor must be recessed: approximately 1.5-4 inches depending on the drain system - linear-drain pans need less recess than traditional mortar beds. Any joist cutting for this recess requires structural review, since notching or cutting floor joists affects the structural system. This is not optional.
Shower benches built from solid tile are the most durable option. A cantilevered tile bench is more durable and easier to clean than a folding seat. Bench height should be 17-19 inches from the floor - the standard wheelchair seat height per ADA 2010 Standards. Bench depth of 15-18 inches allows comfortable seated use. The bench needs to carry sustained weight - solid tile on a properly blocked substrate, not an afterthought.
Grab bars need to be in the right locations and properly mounted. This is the most frequently compromised accessible bathroom element. ADA 2010 Standards section 609.8 requires bars and mounts to withstand 250 lbs of force in any direction. Standard drywall and tile will not hold this under real load. 2x10 blocking must be installed before tile is set - which means it must be planned before framing is closed. A bar that pulls out of drywall under load is worse than no bar at all.
Bar locations:
- Vertical bar near the entry, for entry and exit assistance
- Horizontal bar at 33-36 inches from the floor along the back wall, for seated bathing support
- L-shaped bar near the bench, for the transition between standing and sitting
- Bars on both sides of the toilet, at 33-36 inches
Handheld showerheads on a slide bar allow water direction while seated and height adjustment from roughly 18 to 72 inches off the floor. Fixed overhead showerheads are not accessible.
Storage niches recessed into the shower wall at 18-48 inches from the floor keep shampoo and soap within reach while seated and eliminate the need to lean or reach awkwardly.
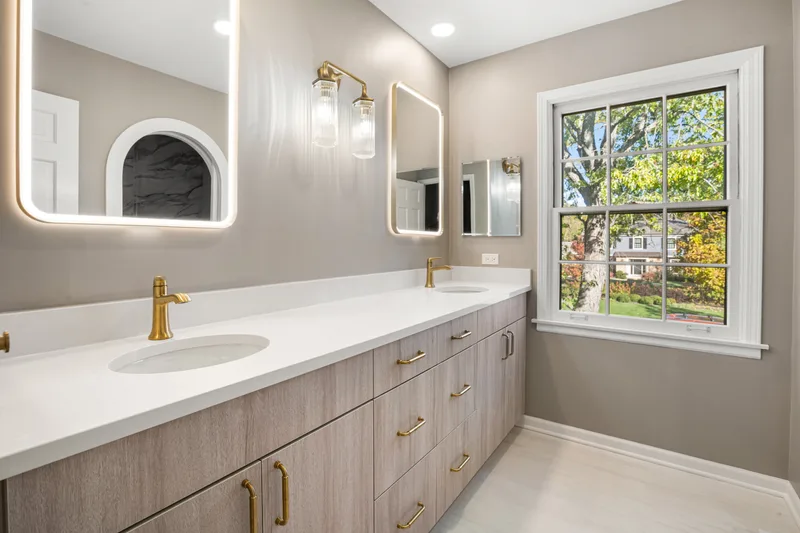
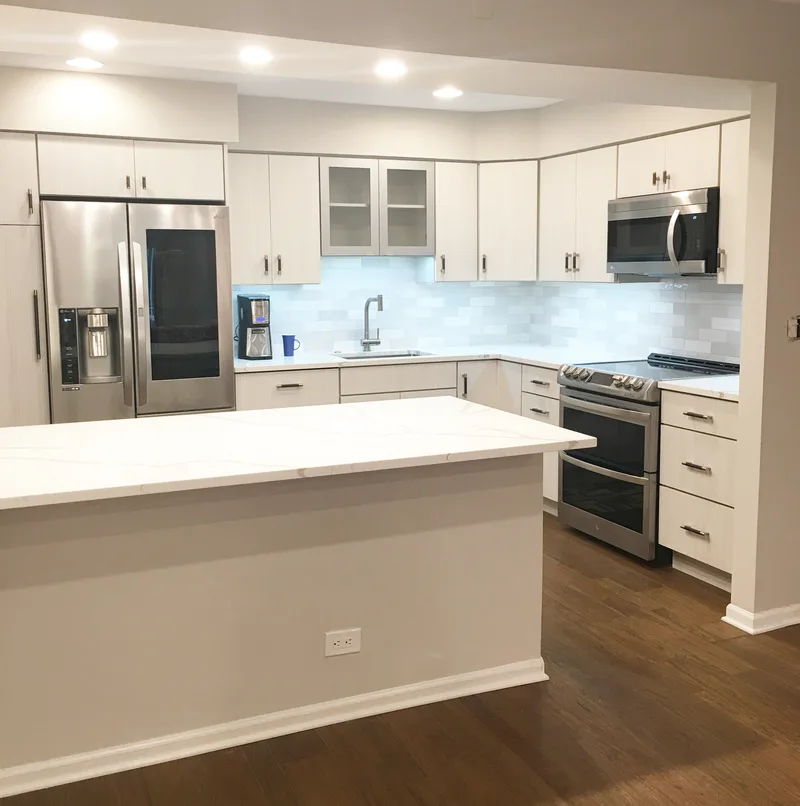
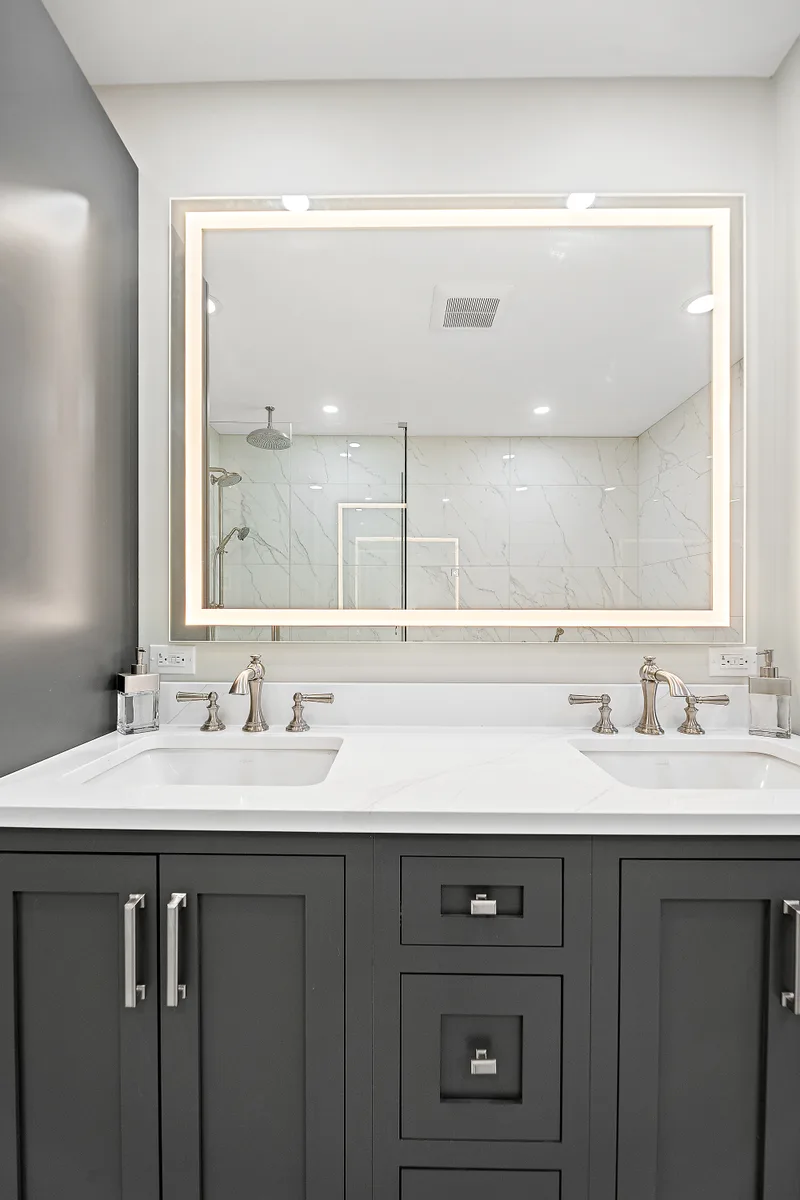
Vanity and Sink Area
For wheelchair users, the sink area requires a different approach. A wall-mounted sink or a vanity with open space underneath allows a wheelchair to roll in close. Knee clearance underneath should be at least 27 inches high, 30 inches wide, and 19 inches deep per ANSI A117.1. Exposed pipes under a wall-mount sink must be insulated or covered to prevent burns for users without full leg sensation.
A single-handle faucet or lever-style handle is easier to operate for people with limited grip strength than a two-knob faucet. Lever handles on all faucets and door hardware make a meaningful difference in daily ease of use.
A tilted mirror or a full-height mirror allows someone seated in a wheelchair to use the mirror without awkward positioning.
Flooring and Slip Resistance
Slip resistance is the most important flooring criterion in an accessible bathroom. The DCOF standard for wet areas is 0.42 or higher per ANSI A326.3. Smooth polished porcelain and polished stone often fall below this threshold when wet. Textured tile, matte-finish porcelain, or tile with sufficient grout joint density all perform better.
The flooring surface should be continuous and level - no raised transitions between different floor materials, no threshold strips that create trip hazards, and no area rugs that can shift underfoot.
How North Shore Pre-War Homes Change the Planning
The accessible remodeling problem on the North Shore is not just dimensional - it is structural. Pre-1940 Kenilworth, Winnetka, and Wilmette homes have balloon framing where studs run full height from sill to roof, and doorway widening always involves the structural system. Pre-1920 plaster-and-lath walls mean blocking for grab bars requires opening walls that are harder to patch cleanly than drywall. Galvanized supply pipes and cast-iron drains in pre-1970 homes frequently require full replacement when walls are opened - which is actually the right time to do it, since walls are already open.
Evanston homes, with their mix of 1890s Victorians along Ridge Avenue and Forest Avenue and Craftsman bungalows across the interior neighborhoods, present similar structural conditions. Evanston has one additional requirement that affects accessible remodel planning: all contractors must be registered with the City of Evanston before pulling any permit, per the City of Evanston Permit Desk at the Morton Civic Center. This contractor-registration requirement is a homeowner-protection step that neighboring Wilmette and Skokie do not impose in the same way. For an accessible project that involves structural, plumbing, and electrical scope - as most full accessible conversions do - confirming that each trade contractor holds current City registration before the permit is pulled avoids inspection holds mid-project.
Lake Bluff cottages from the 1900s-1920s present similar pre-war structural conditions to Kenilworth and Glencoe. The best accessible remodels in these homes treat the structural work as part of the project, not an unfortunate addition to it.
Post-war Northbrook ranches and Glenview split-levels from the 1950s-1980s do not have balloon framing, but they present their own accessible-remodel considerations. Slab foundations complicate subfloor recessing for curbless showers - the approach shifts from joist cutting to evaluating whether a linear-drain tray buildup can achieve a zero-threshold entry without recessing into the slab. The answer is often yes, but it requires earlier layout decisions than a wood-frame home. The Village of Northbrook Development and Planning Services Department, located on the second floor of Village Hall at 1225 Cedar Lane, requires Village-issued trade licenses for plumbers, electricians, and concrete contractors before any permit issues on these projects.
Planning for Future Needs
One of the most cost-effective approaches to accessibility is planning for it during any bathroom remodel, even if the need is not immediate. Installing grab bar blocking in walls during a remodel adds almost nothing to cost. Opening finished walls later to add that blocking is expensive and disruptive.
If you are remodeling a bathroom now and anticipate that accessibility may matter in 10-15 years - for yourself, an aging parent, or a family member with a progressive condition - that conversation should happen before design is finalized.
For more on accessible bathroom remodeling on the North Shore, visit our bathroom remodeling service page or see our related guide on accessible shower conversions. If you are deciding between a fully accessible design and a standard remodel with some accessibility features, our accessible vs standard remodel comparison covers the practical and cost differences. To discuss your specific project, contact us.
Delta - Bathroom and Kitchen Remodeling serves Lake Forest, Lake Bluff, Highland Park, Northbrook, Glenview, and surrounding North Shore communities.
Ready to Start Your Project?
Schedule a free consultation. We bring design ideas, material samples, and honest answers.
Get Free Consultation