


Under-Cabinet Lighting: Types, Installation, and What Works Best in a Kitchen Remodel
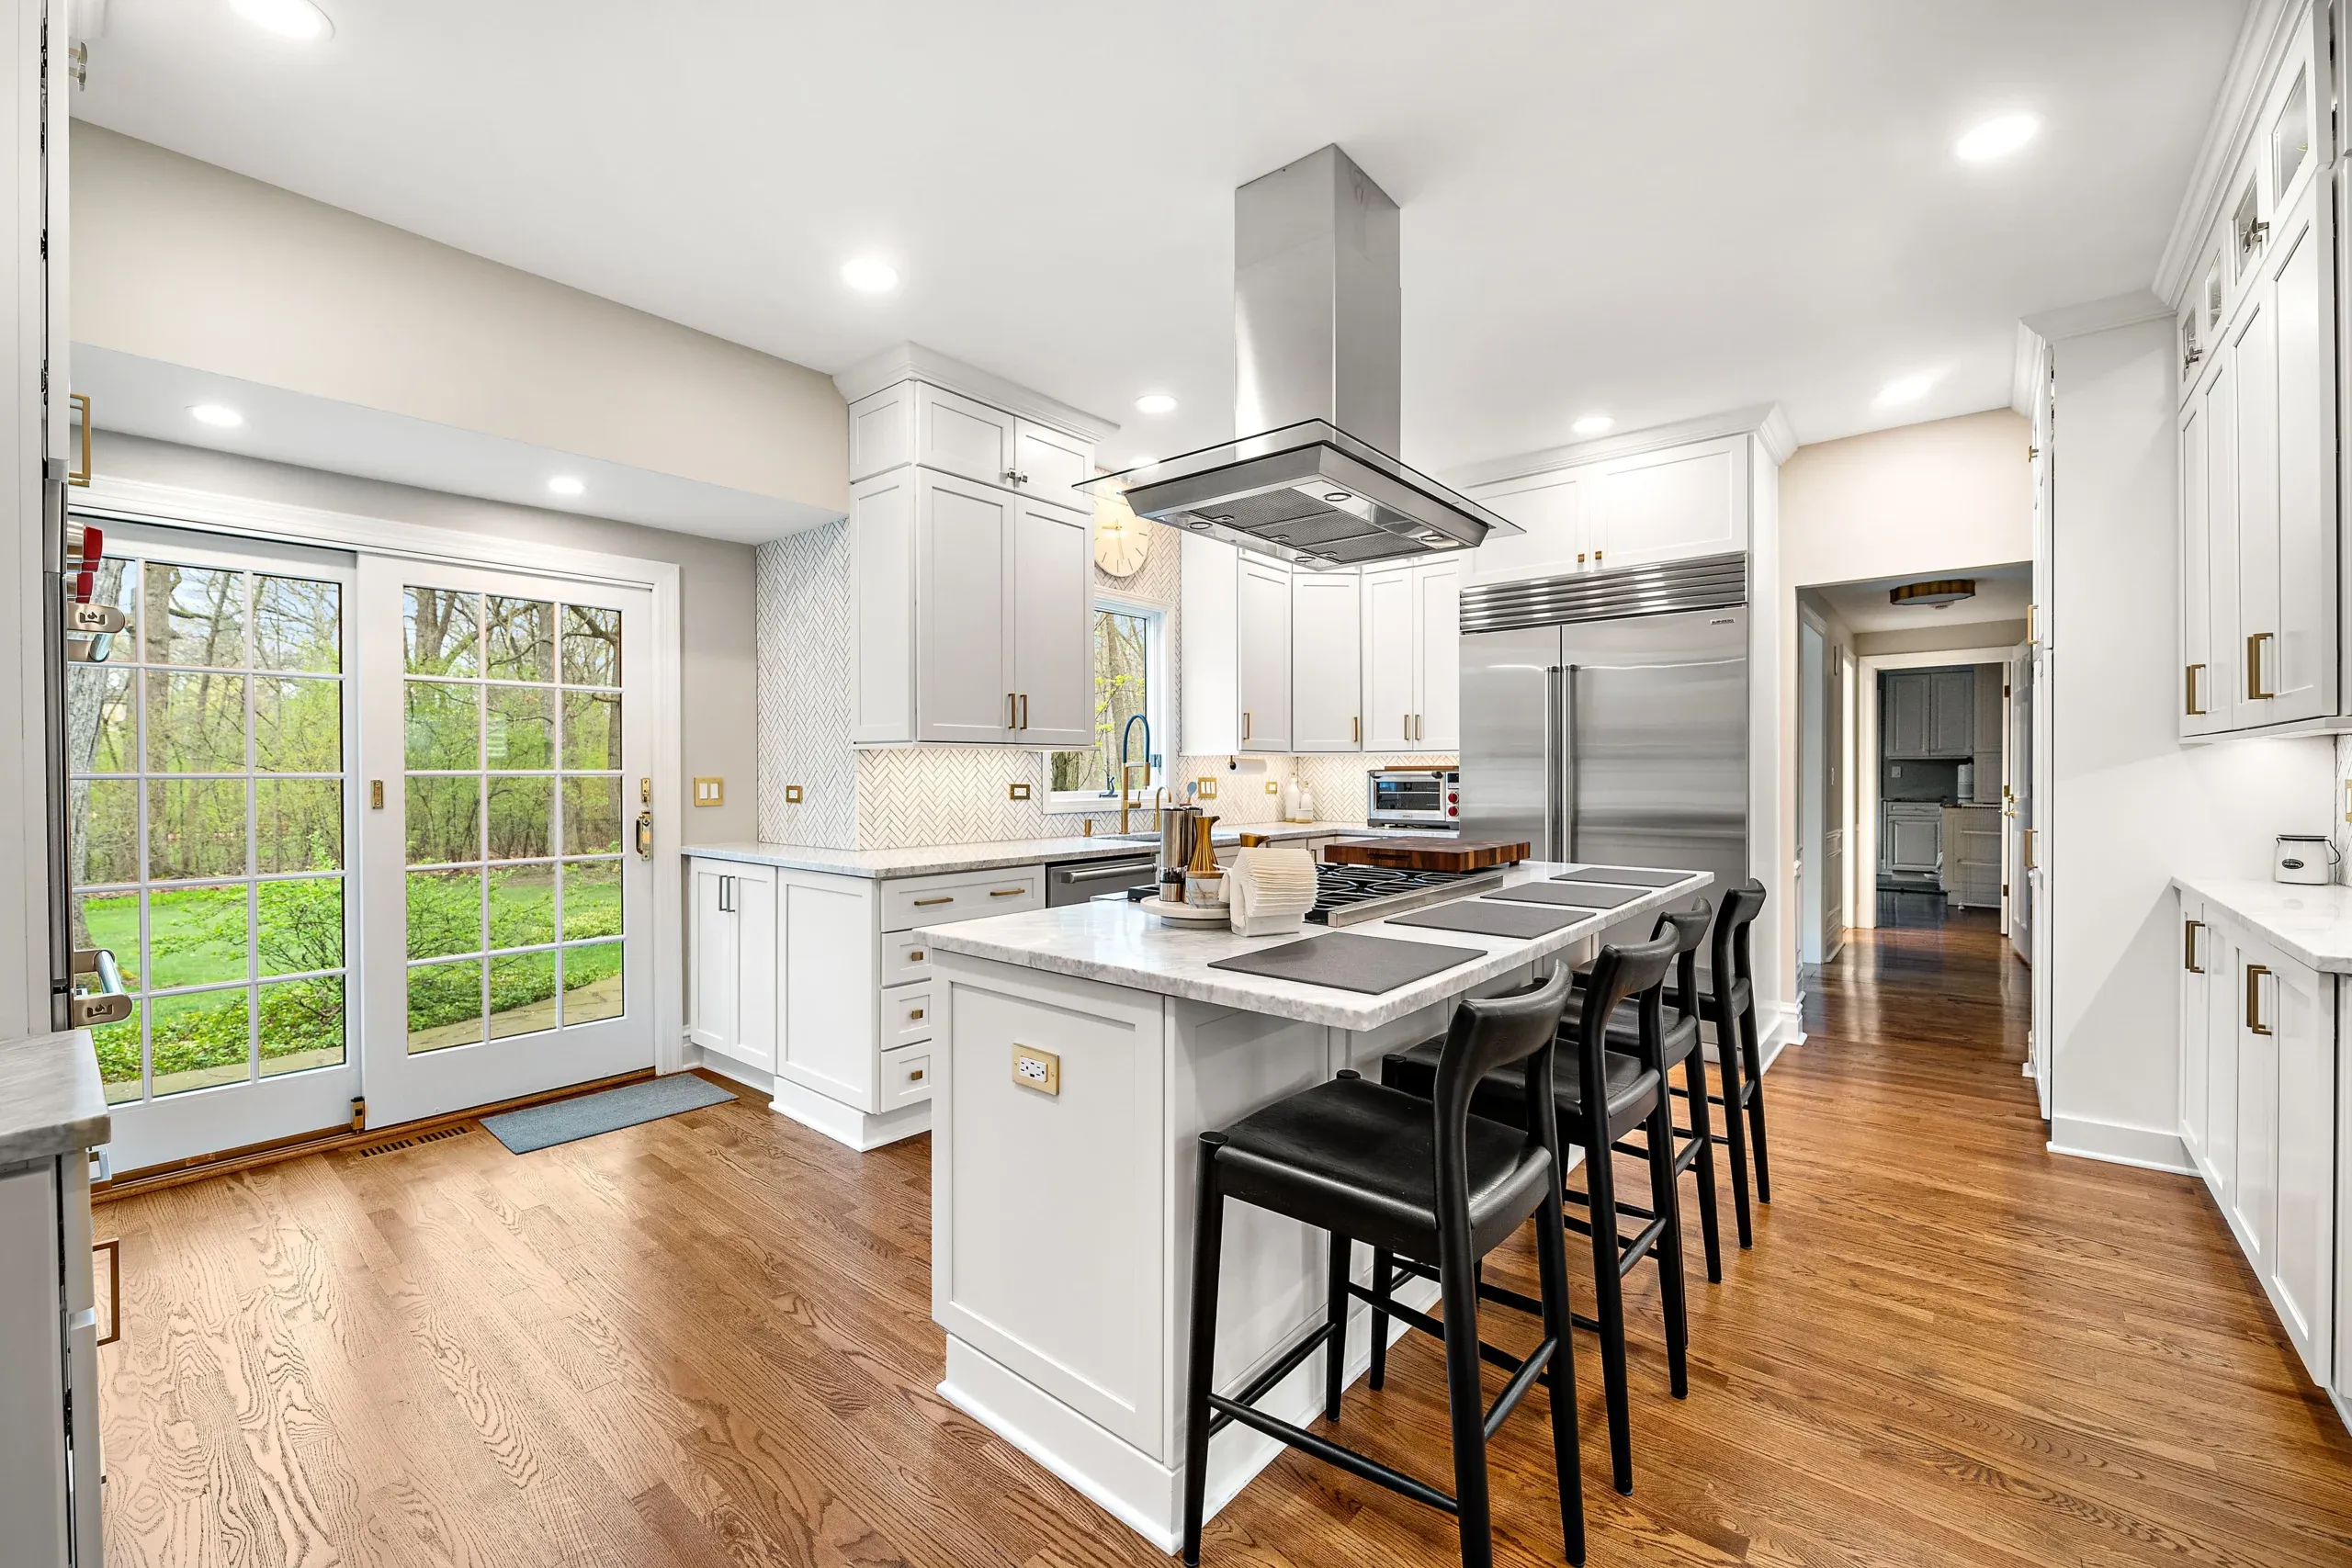
Under-cabinet lighting solves a problem that overhead fixtures cannot: overhead lights cast shadows on countertops because your body is between the light source and the work surface. Under-cabinet lights illuminate the counter directly, from the front edge of the cabinet down. For prep work, cooking, and reading recipes, the difference is immediate and practical.
It also affects how a kitchen looks. A well-lit backsplash and countertop surface changes the character of a kitchen more than most homeowners expect before they experience it.
Here is what to know about fixture types, installation requirements, and design decisions before adding under-cabinet lighting to a kitchen remodel.
Why Under-Cabinet Lighting Belongs in a Remodel, Not an Afterthought
The most important practical point first: adding under-cabinet lighting is significantly easier and cleaner during a kitchen remodel than after. When walls are open and cabinets are being installed, wiring can be run inside the wall and behind cabinets without visible conduit or surface-mounted raceways. The result is a finished installation with no visible cords.
Retrofitting under-cabinet lighting in a finished kitchen means either running cords to nearby outlets (which are usually not positioned where you want them) or opening finished walls to run wiring - both messy and expensive relative to incorporating the work during a remodel.
If you are already planning a kitchen remodel and under-cabinet lighting is on your list, it belongs in the initial scope - not as a future project.
Types of Under-Cabinet Lighting
LED Strip Lights
LED strip lights are the most commonly used type for residential kitchen under-cabinet applications. They are flexible ribbon fixtures with LEDs mounted at regular intervals along the length, available in various densities (measured in LEDs per foot or meter) and color temperatures.
Advantages:
- Continuous illumination along the full cabinet run, without dark spots between fixtures
- Low profile - most LED strips are under 5mm thick
- Low heat output - safe for wood cabinetry
- Very long lifespan (typically 25,000 to 50,000 hours for quality fixtures)
- Dimmable when paired with compatible dimmer switches and drivers
The main variable in LED strip quality is the LEDs themselves. Consumer-grade strips from generic suppliers use lower-bin LEDs that shift in color temperature over time and lose output faster. Contractor-grade or commercial-grade strips from reputable manufacturers maintain consistent output and color over their rated lifespan. This matters in a kitchen where the lighting will be on daily for years.
LED Puck Lights
Puck lights are individual circular fixtures, typically 3 to 4 inches in diameter, mounted at intervals under the cabinet. They create pools of light rather than continuous illumination, which means there are darker zones between fixtures.
Puck lights work better for accent lighting or display cabinet interiors than for task lighting over a prep counter. If the goal is functional countertop illumination, strip lights are more effective.
Linear Fluorescent Fixtures (Legacy)
Some older kitchens have under-cabinet fluorescent strips that were installed during previous remodels. These produce adequate light but are less energy-efficient than LED, may flicker as they age, and are typically not dimmable. During a kitchen remodel, existing fluorescent under-cabinet fixtures are worth replacing with LED.
Xenon and Halogen Fixtures (Avoid in New Installations)
Xenon and halogen under-cabinet fixtures produce warm, accurate color light but generate significant heat and use more energy than LED. They are no longer a practical choice for new kitchen installations. LED technology now replicates the warm color temperature of halogen without the heat or energy consumption.
Color Temperature and Rendering
Color temperature, measured in Kelvin, determines whether the light appears warm or cool.
- 2700K to 3000K: Warm white, similar to incandescent. Flattering to wood cabinets, warm-toned countertops, and food. Most commonly used in residential kitchens.
- 3500K to 4000K: Neutral white. Slightly cooler, works well in contemporary kitchens with white or gray finishes.
- 5000K and above: Daylight. Creates a clinical atmosphere that most homeowners find uncomfortable in a kitchen.
For most residential kitchens, 2700K to 3000K is the right choice. It coordinates with the color temperature of other light sources in the kitchen and creates a comfortable environment.
Color Rendering Index (CRI) is a separate measurement that indicates how accurately a light source renders colors. A CRI of 90 or above is recommended for kitchen lighting where you are working with food and want to see accurate colors. Most quality LED strips are available at 90+ CRI.
Dimming
Under-cabinet lighting in a kitchen should be dimmable. The kitchen serves different functions at different times of day - bright task lighting for morning prep, softer ambient light for evening meals, dimmed accent lighting when the kitchen is not in active use. A dimmable system handles all of these without separate fixture types.
Dimming LED under-cabinet fixtures requires compatible components throughout: a dimmable LED strip or fixture, a compatible LED driver or transformer, and a compatible dimmer switch. Mixing incompatible components results in flickering, buzzing, or limited dimming range. A contractor specifying under-cabinet lighting should confirm compatibility across all three components.
Smart dimmers and scene controls can tie under-cabinet lighting into a broader home automation system, allowing lighting to be set by schedule, voice command, or app. This is worth considering if you are already planning smart home features during the remodel.
Installation: Hardwired vs. Plug-In
Hardwired installation routes line voltage (120V) from a junction box to a driver or transformer mounted inside the cabinet or wall, then low-voltage wiring to the LED strips. The fixture has no visible cord and no outlet required at the cabinet. This is the professional installation approach for a kitchen remodel and produces the cleanest result.
This work requires a licensed electrician in most jurisdictions - it involves opening an electrical circuit and making line-voltage connections. In Illinois, residential electrical work requires permits and inspection for circuits and new wiring runs.
Plug-in systems use a cord from the fixture to a nearby outlet. They are easier to install (no electrician required) but leave cords visible or require running them behind cabinets in a way that may not look finished. Outlets under cabinets are not standard in most kitchens, so the plug location may be inconvenient.
For a new kitchen remodel, hardwired installation is the right approach. For a targeted retrofit without opening walls, plug-in systems are a practical compromise if the cord can be managed cleanly.
Placement for Best Results
Where the fixture is mounted on the underside of the cabinet affects both light distribution and whether the fixture itself is visible.
Mounting too far forward puts the fixture in the sightline of anyone at counter height, making the LED source visible and causing glare. Mounting too far back concentrates light at the wall and backsplash rather than the work surface.
The general guideline is to mount the fixture approximately one-third of the way back from the front edge of the cabinet - close enough to illuminate the counter but behind the front frame far enough to be hidden from view at normal eye levels.
Light rail molding - a small trim piece installed on the bottom front edge of upper cabinets - conceals the fixture completely and gives the installation a finished appearance. This detail is standard in quality kitchen installations and is worth including if the budget allows.
Common Installation Mistakes
Using consumer-grade LED strips. The price difference between generic and quality LED strips is modest over the life of a kitchen remodel, but the performance difference over five to ten years of daily use is significant. Specify quality fixtures.
Skipping the light rail. Visible fixtures or visible LED strips along the cabinet underside look unfinished and create glare. Light rail is an inexpensive addition that makes the installation look professional.
Not coordinating dimmer compatibility. As noted above, incompatible components cause flickering and noise. Confirm compatibility before purchasing.
Adding under-cabinet lighting as a retrofit after the remodel. This is the most expensive and most disruptive way to add under-cabinet lighting. The time to do it is during the remodel.
Under-cabinet lighting is one of the best value-per-dollar improvements available in a kitchen remodel. It improves the function of the kitchen for daily use, improves the appearance significantly, and - when done as part of a remodel rather than a retrofit - adds relatively modest cost to the overall project. For more on the cabinet and storage decisions that complement good lighting, see our guides on kitchen cabinet remodel ideas and kitchen storage solutions.
Delta Remodels handles kitchen remodels across the North Shore, including lighting design and electrical coordination. Contact us to discuss your project, or learn more about our kitchen remodeling services.
Ready to Start Your Project?
Schedule a free consultation. We bring design ideas, material samples, and honest answers.
Get Free Consultation