


Basement Remodel Planning Guide: From Permits to Finished Space
A basement remodel adds usable square footage to your home without the cost of an addition - but the planning decisions made before construction starts determine whether the result is a functional living space or a series of expensive corrections.
Most problems in finished basements trace back to planning, not execution. Moisture wasn’t addressed before framing. The layout created too many small rooms. Materials that work above grade were used below grade where they fail. A contractor was hired before goals and budget were clearly defined. Getting the planning right takes more time upfront, but it directly determines how much you spend and what you end up with.
This guide covers the planning sequence in the order that decisions should be made.
Establish Goals Before Anything Else
The first question isn’t what it should look like - it’s what it should do. A basement designed for family movie nights requires different decisions than one designed as a home office, a play area for kids, a guest suite, or an adult entertaining space with a wet bar.
The intended use determines:
- Whether you need a full or half bathroom (and where existing plumbing runs)
- Ceiling height requirements (a home theater benefits from as much height as possible; a storage room doesn’t)
- Sound isolation needs between floors
- Natural light requirements
- The right layout - open vs. divided
Getting specific about use cases at the beginning prevents the most common planning mistake: building a basement that tries to be too many things and does none of them well. A multi-use space is achievable, but the uses have to be compatible with each other and with the actual square footage available.
Budget definition belongs at this stage too. A finished basement remodel on the North Shore ranges widely depending on scope, finish level, and whether plumbing is being added. Working out what you can spend before design begins determines what’s realistic - not the other way around. Factor in not just construction costs, but furniture and finishing touches to make the space livable after the contractor leaves.
Moisture Assessment: The Non-Negotiable First Step
No framing, no flooring, and no finishes should go into a basement with unresolved moisture issues. This is the most consistently violated rule in basement remodeling, and it’s why finished basements sometimes develop mold, odors, and damage within a few years of completion.
Check for:
- Active water infiltration: staining, efflorescence (white mineral deposits on concrete walls), visible moisture seeping through the slab or walls
- High ambient humidity: a consistent reading above 60% relative humidity creates mold risk even without visible water
- Condensation points: where cold surfaces meet warm humid air
Leaky window wells, inadequate exterior grading, and foundation cracks are common sources of water that need exterior or structural solutions before interior work begins. Interior drainage systems and sump pumps address what comes in after-the-fact; exterior waterproofing and grading correction address the source.
An experienced contractor will assess moisture conditions before proposing a scope of work. Be cautious of any contractor who proposes to skip this step or frame around a damp area.
Permits, Building Codes, and What Requires Inspection
Basement remodeling in Illinois municipalities requires permits for electrical work, plumbing additions, and any structural changes. Many jurisdictions also require permits for egress window installations and HVAC modifications.
Working without permits creates problems at resale (work done without permits is typically disclosed and can be flagged by a home inspector) and means the work isn’t inspected - which matters for electrical and plumbing work in particular.
Requirements that commonly apply to basement finishes:
- Egress windows or doors in sleeping rooms: IRC requires a minimum net clear opening area, sill height no more than 44 inches from the floor, and minimum width/height dimensions
- Ceiling height: IRC requires a minimum 7-foot ceiling height for habitable rooms; storage and utility spaces have lower minimums
- Smoke and carbon monoxide detectors
- Stairway handrail and guardrail dimensions
- Electrical circuits for bedroom or living space use
Your contractor should pull permits and schedule inspections as part of the project. If a contractor asks you to pull permits yourself or suggests skipping them, that’s a concern worth taking seriously.
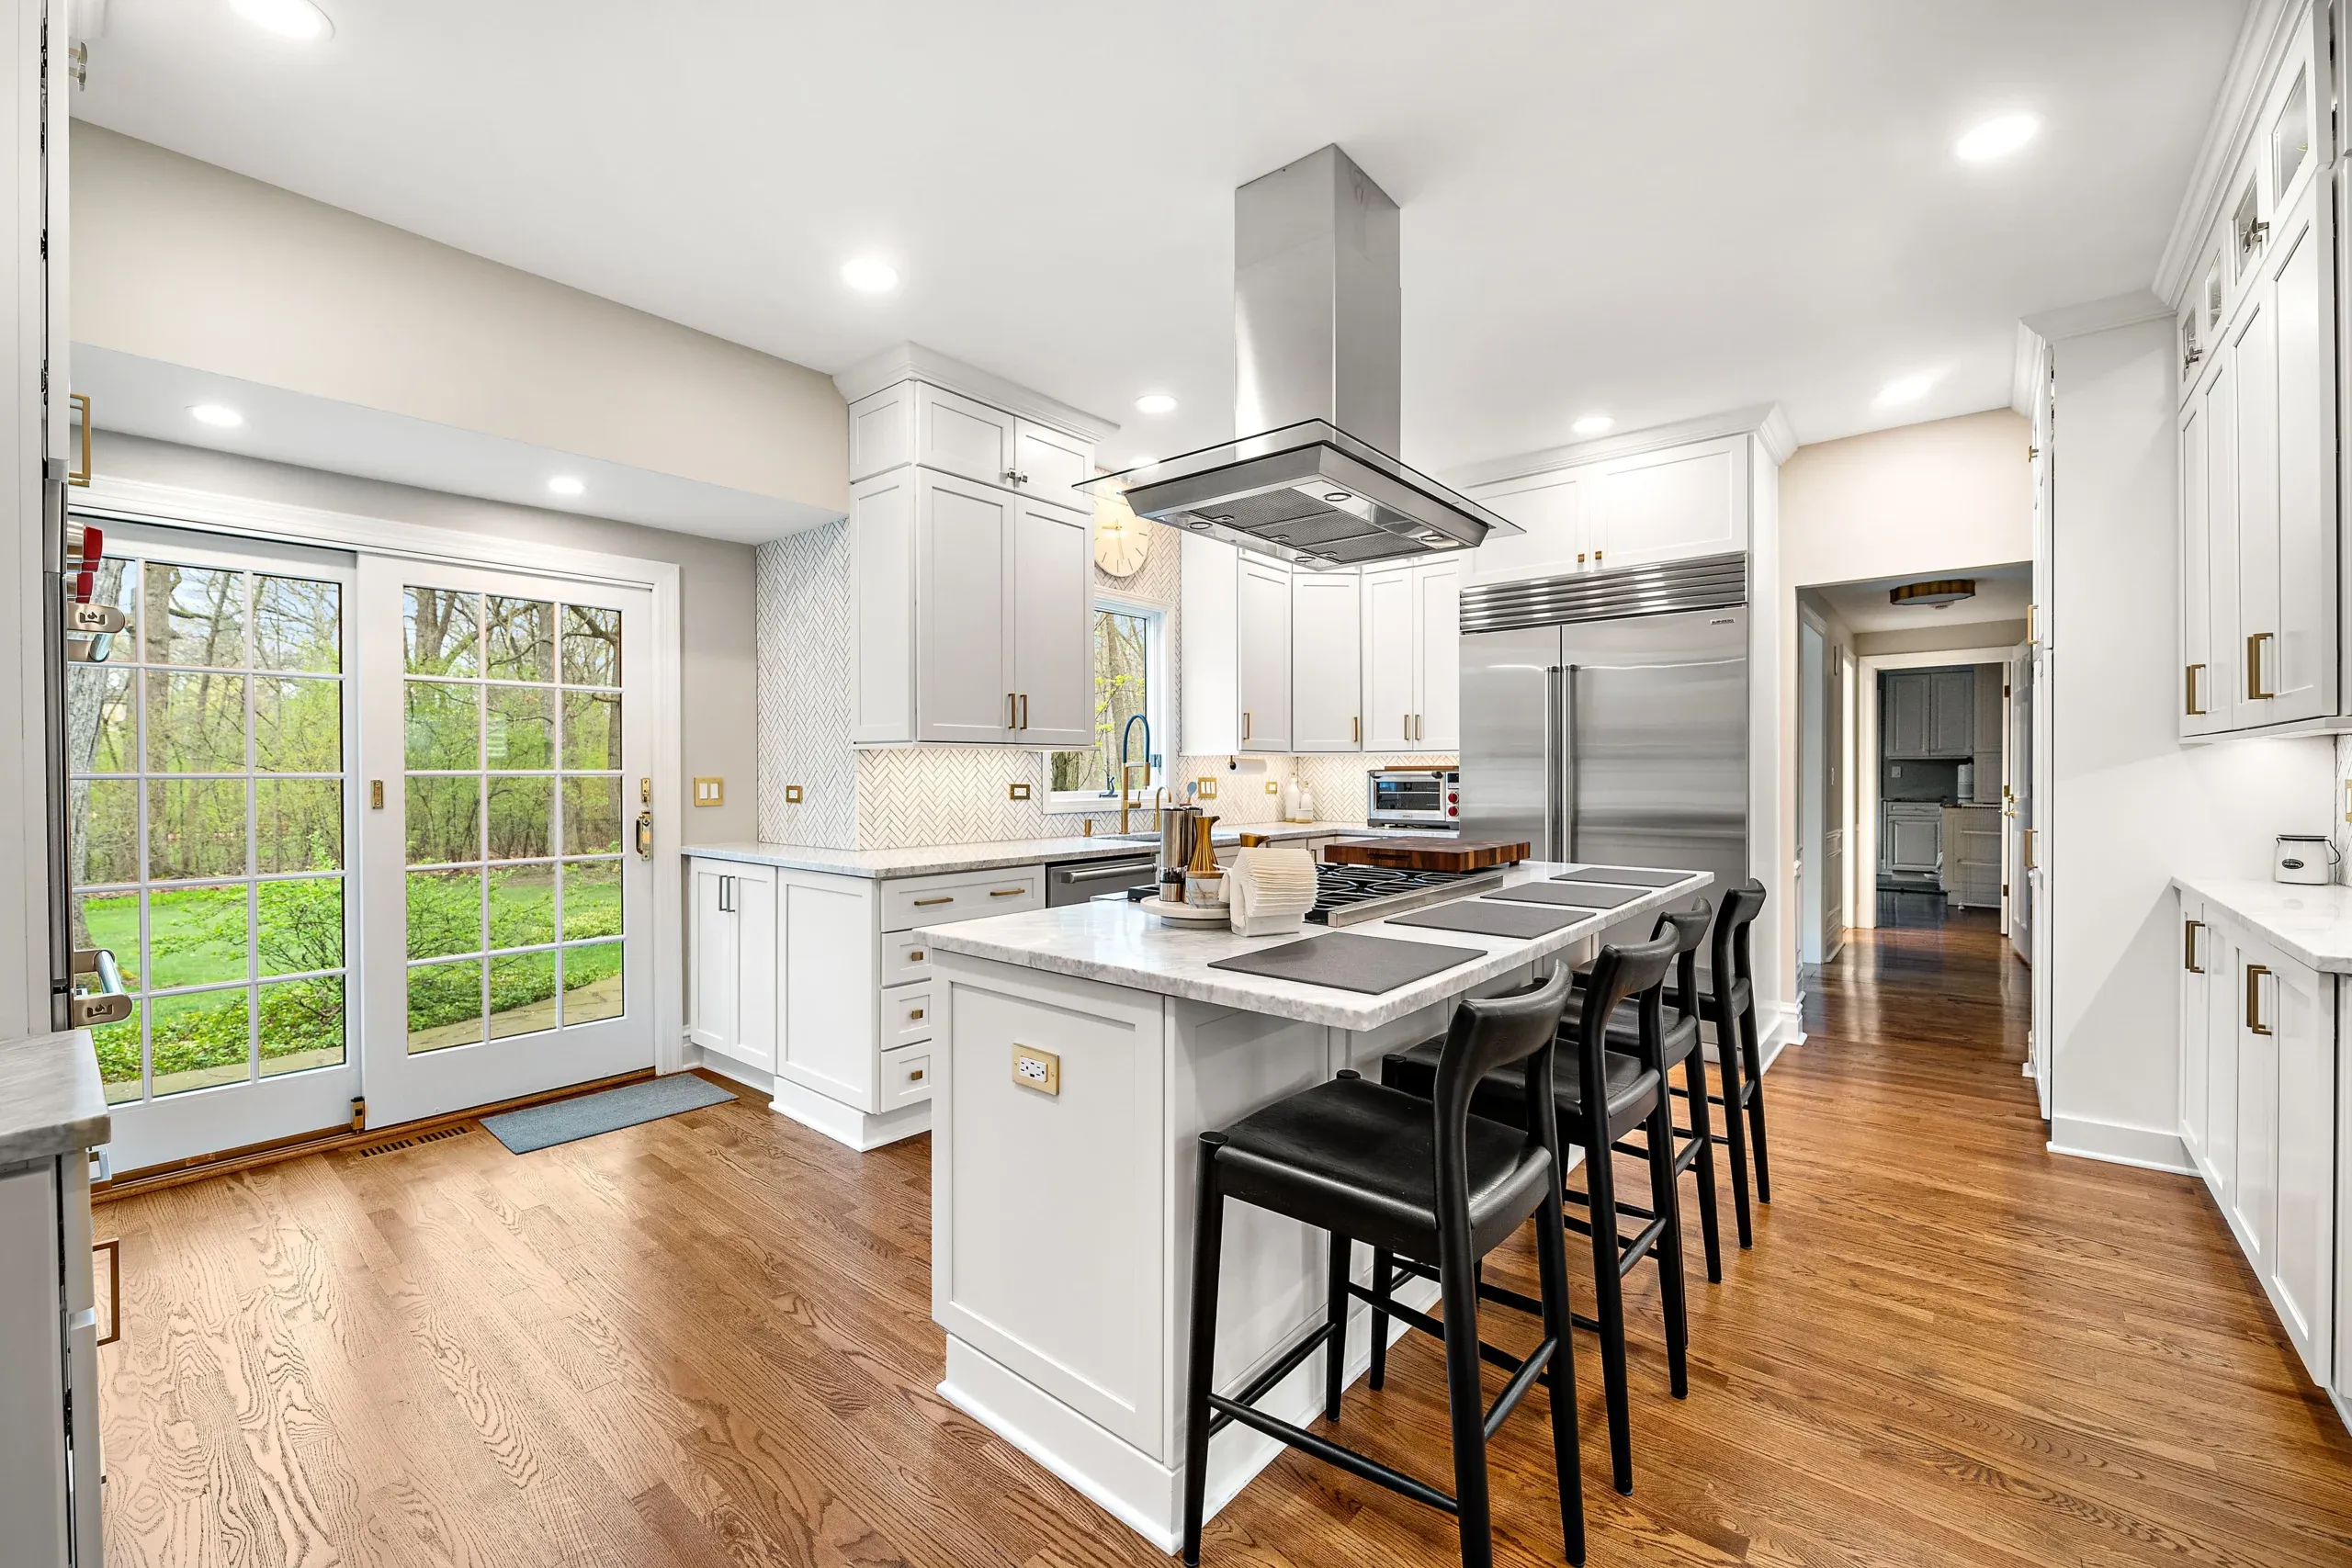
Layout: What Actually Works in a Basement
Basement layout decisions have a bigger impact on how the space feels than almost any other decision. Two layout mistakes show up repeatedly in remodeled basements:
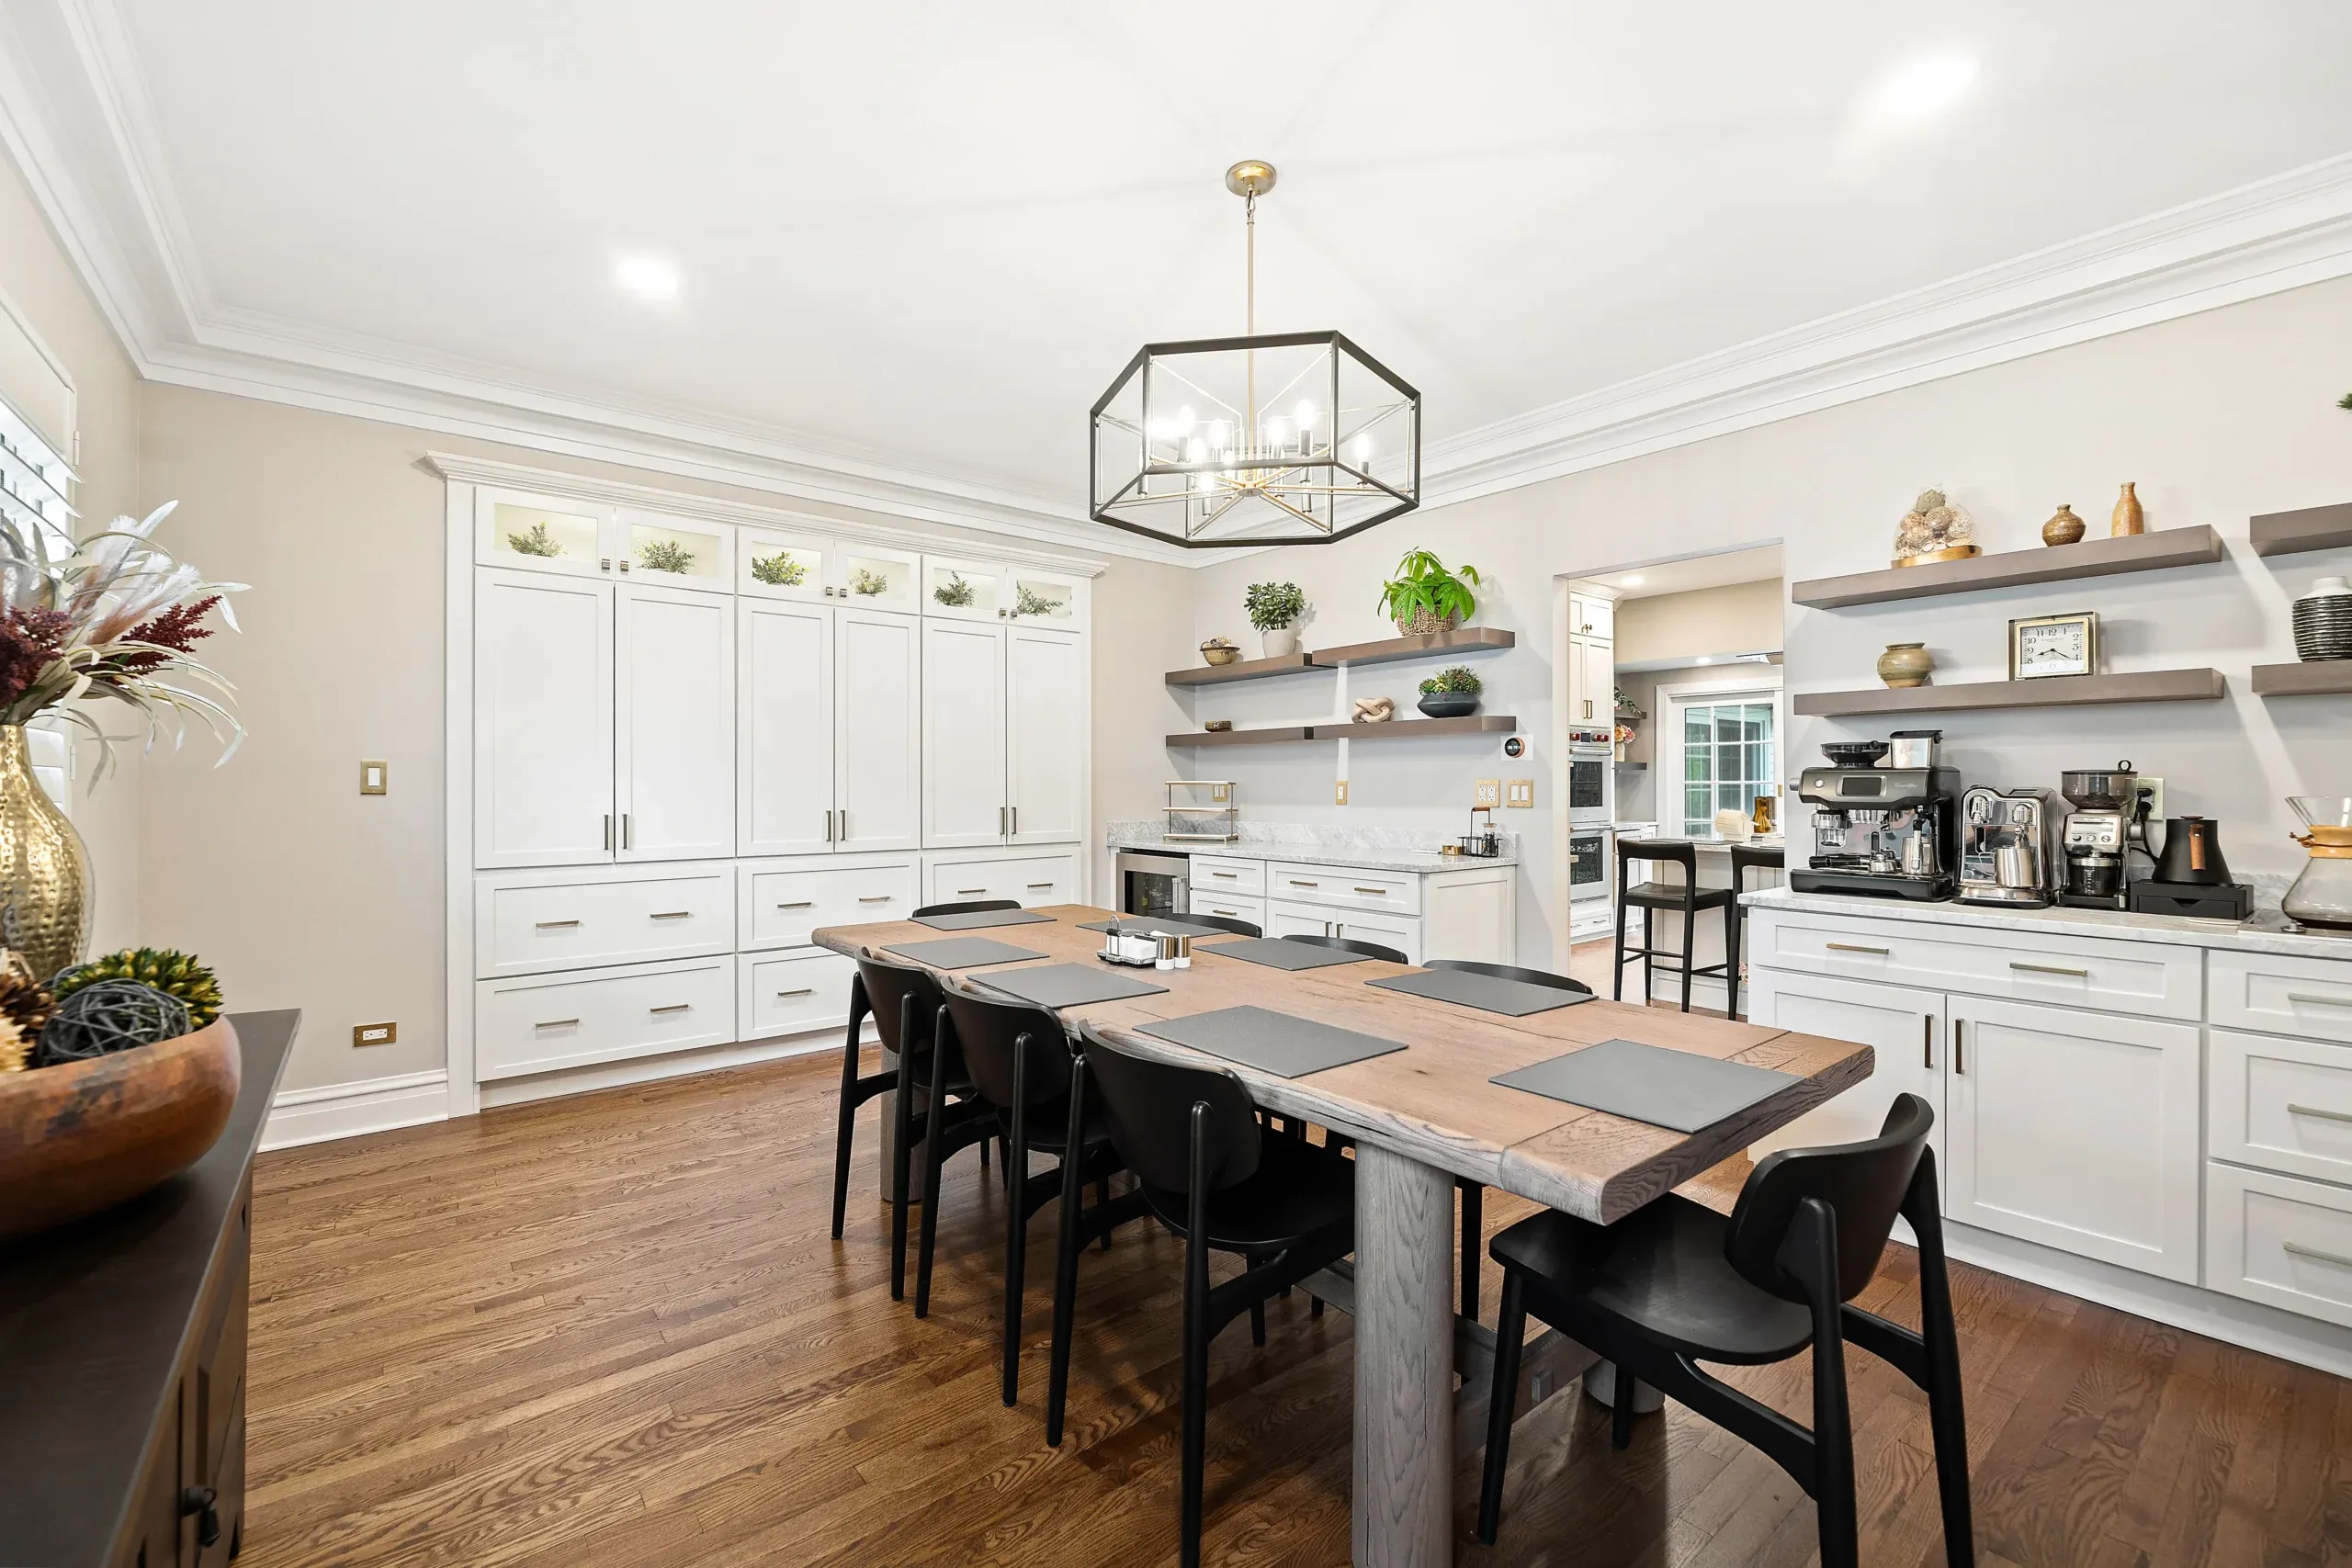
Too many small rooms. Dividing a basement into several small, enclosed rooms produces spaces that feel like closets and lose the sense of openness that makes a basement feel like a real part of the home. Larger open areas are almost always preferable. If division is needed, consider partial-height walls, sliding barn doors, or built-in shelving as dividers that preserve visual openness while creating functional zones.
Columns that weren’t planned around. Structural columns in the basement are fixed points. The layout either works with them or fights them. Columns can be incorporated into walls, wrapped to become design features, or used to anchor the boundary between zones. Planning around them from the beginning is much easier than working around them after framing is underway.
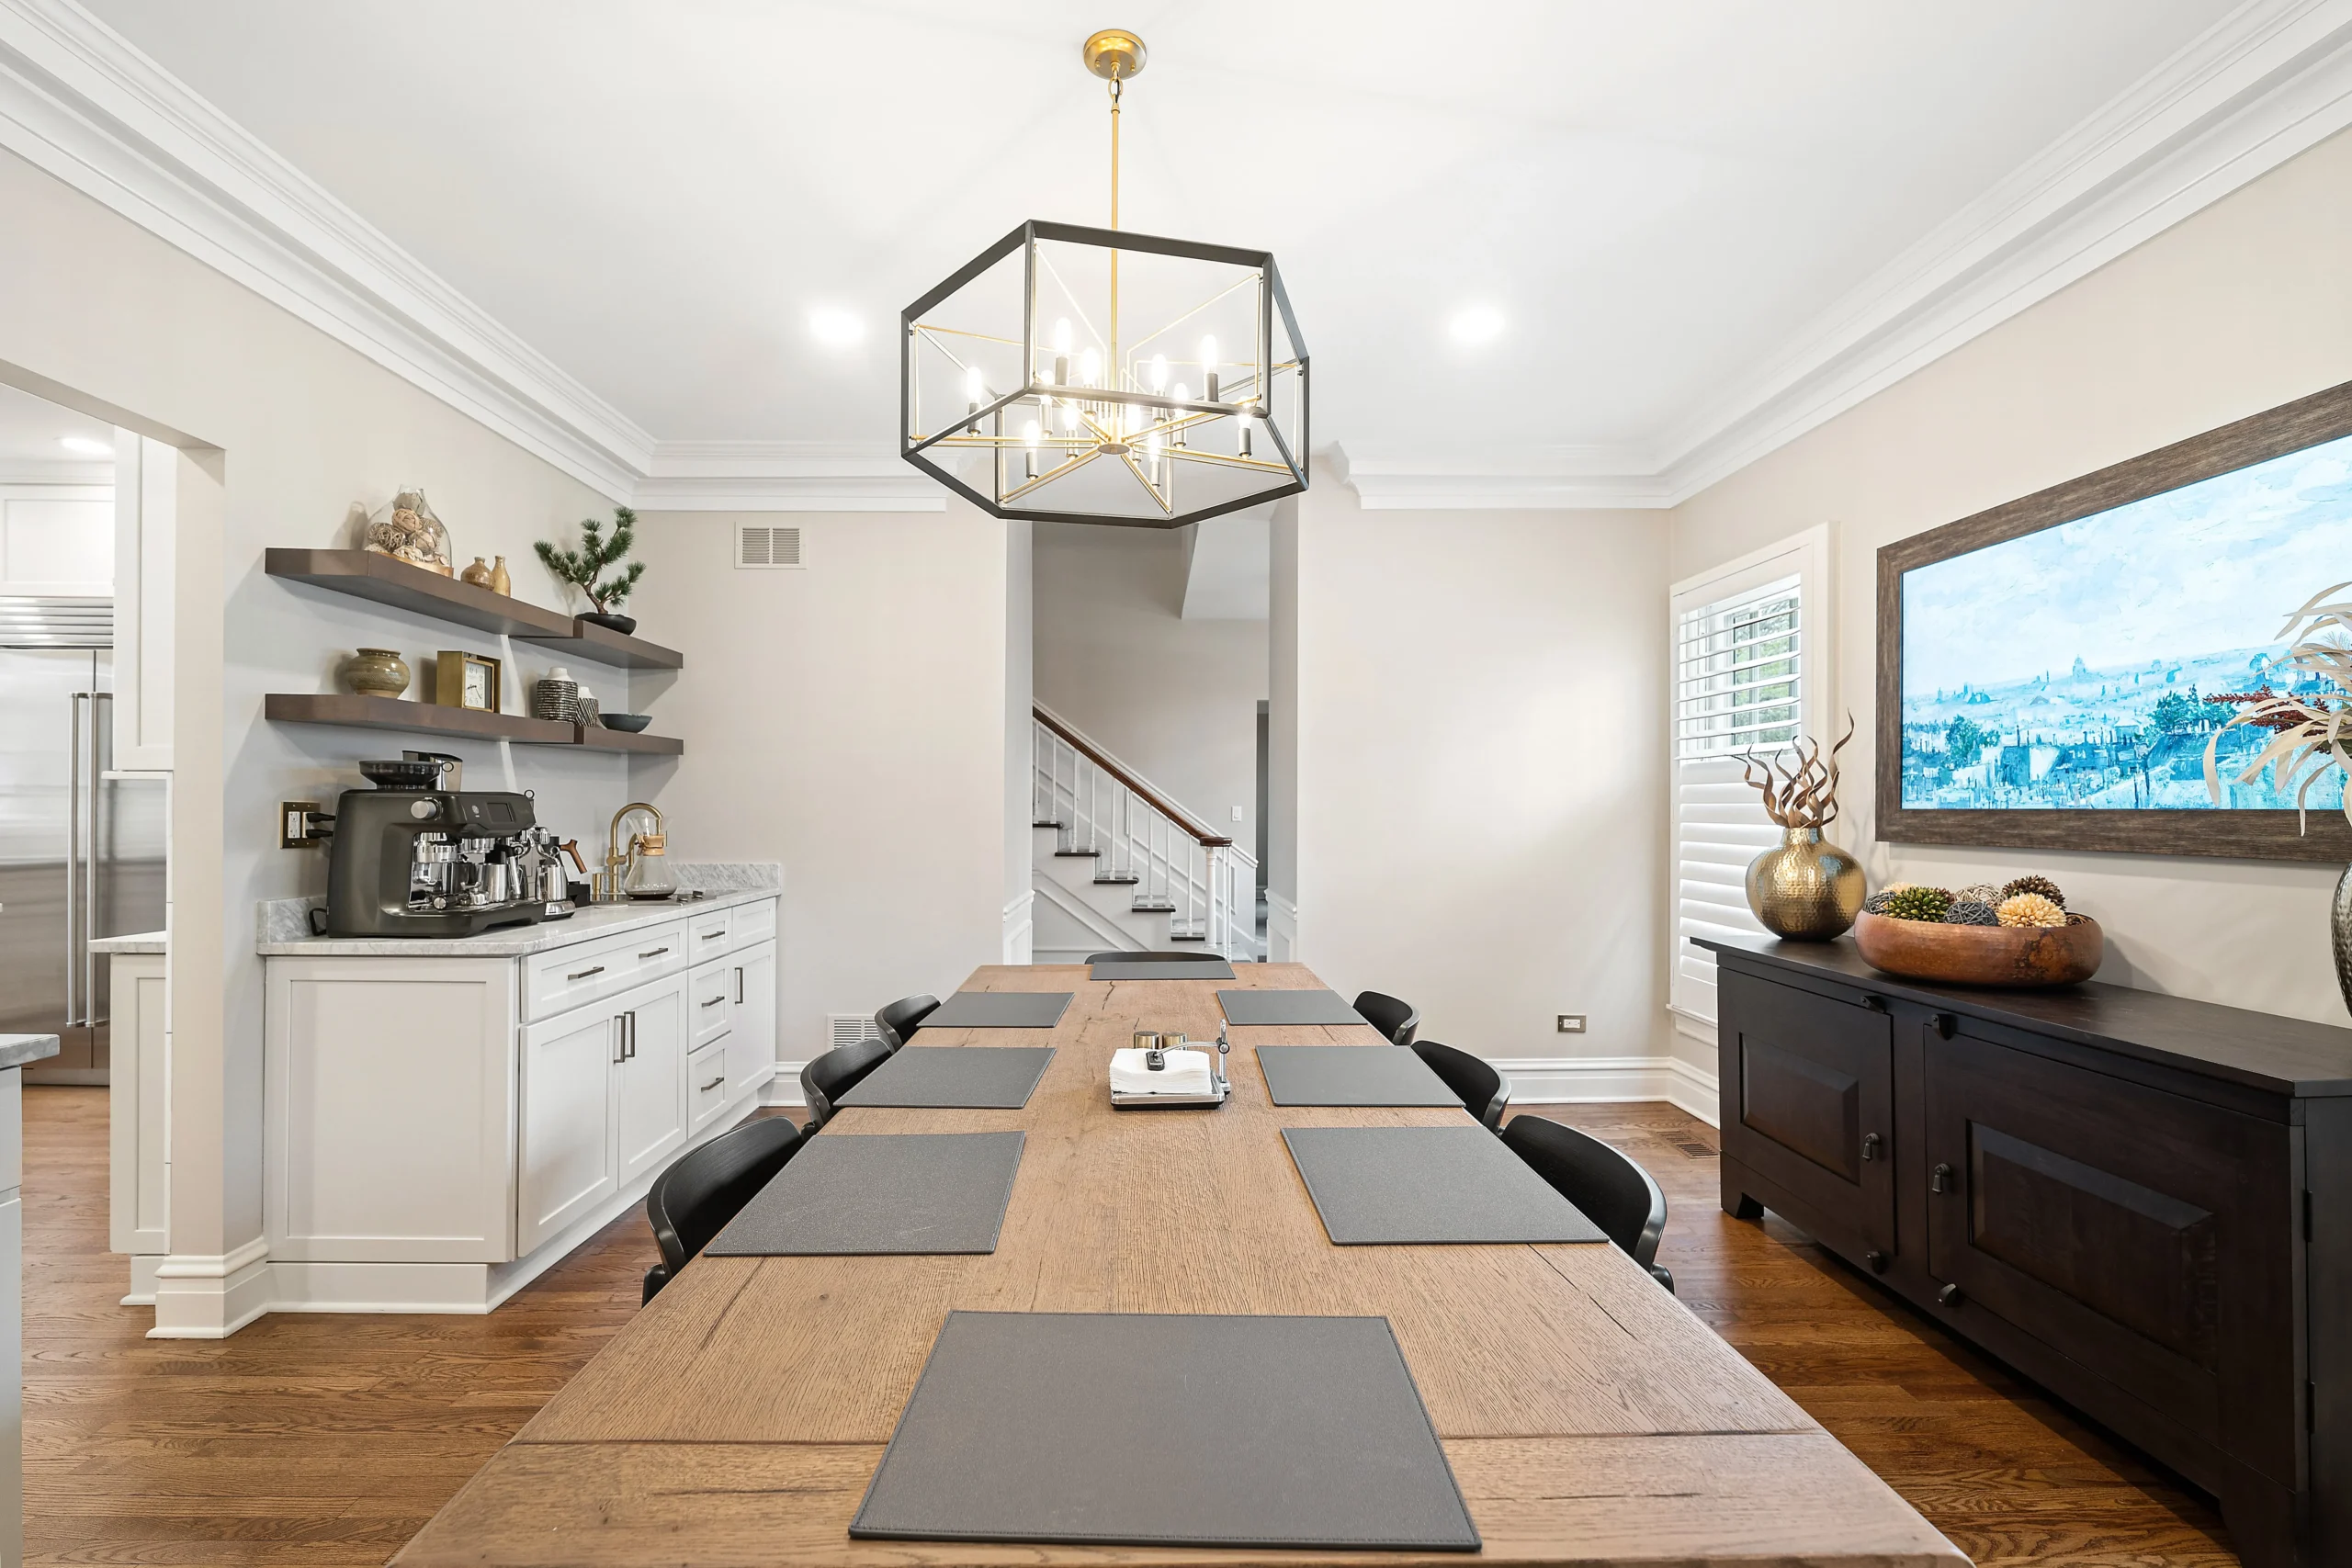
For a family entertainment space, a wet bar is a practical feature that makes the basement function as a social space. Locating it near existing plumbing reduces cost significantly - running new supply and drain lines adds to the budget. A wet bar with custom cabinetry, a small sink, and beverage refrigeration requires modest space but substantially increases how much the basement gets used.
For a home theater or media room, sound isolation between the basement ceiling and the floor above is worth planning for. Resilient channel or other decoupling methods in the ceiling assembly, combined with batt insulation, significantly reduce sound transmission. This is much easier to incorporate during framing than to add afterward.
Floating shelves and built-in storage are practical throughout a finished basement. They use wall space efficiently, provide storage for electronics and media, and can display items without taking up floor space.
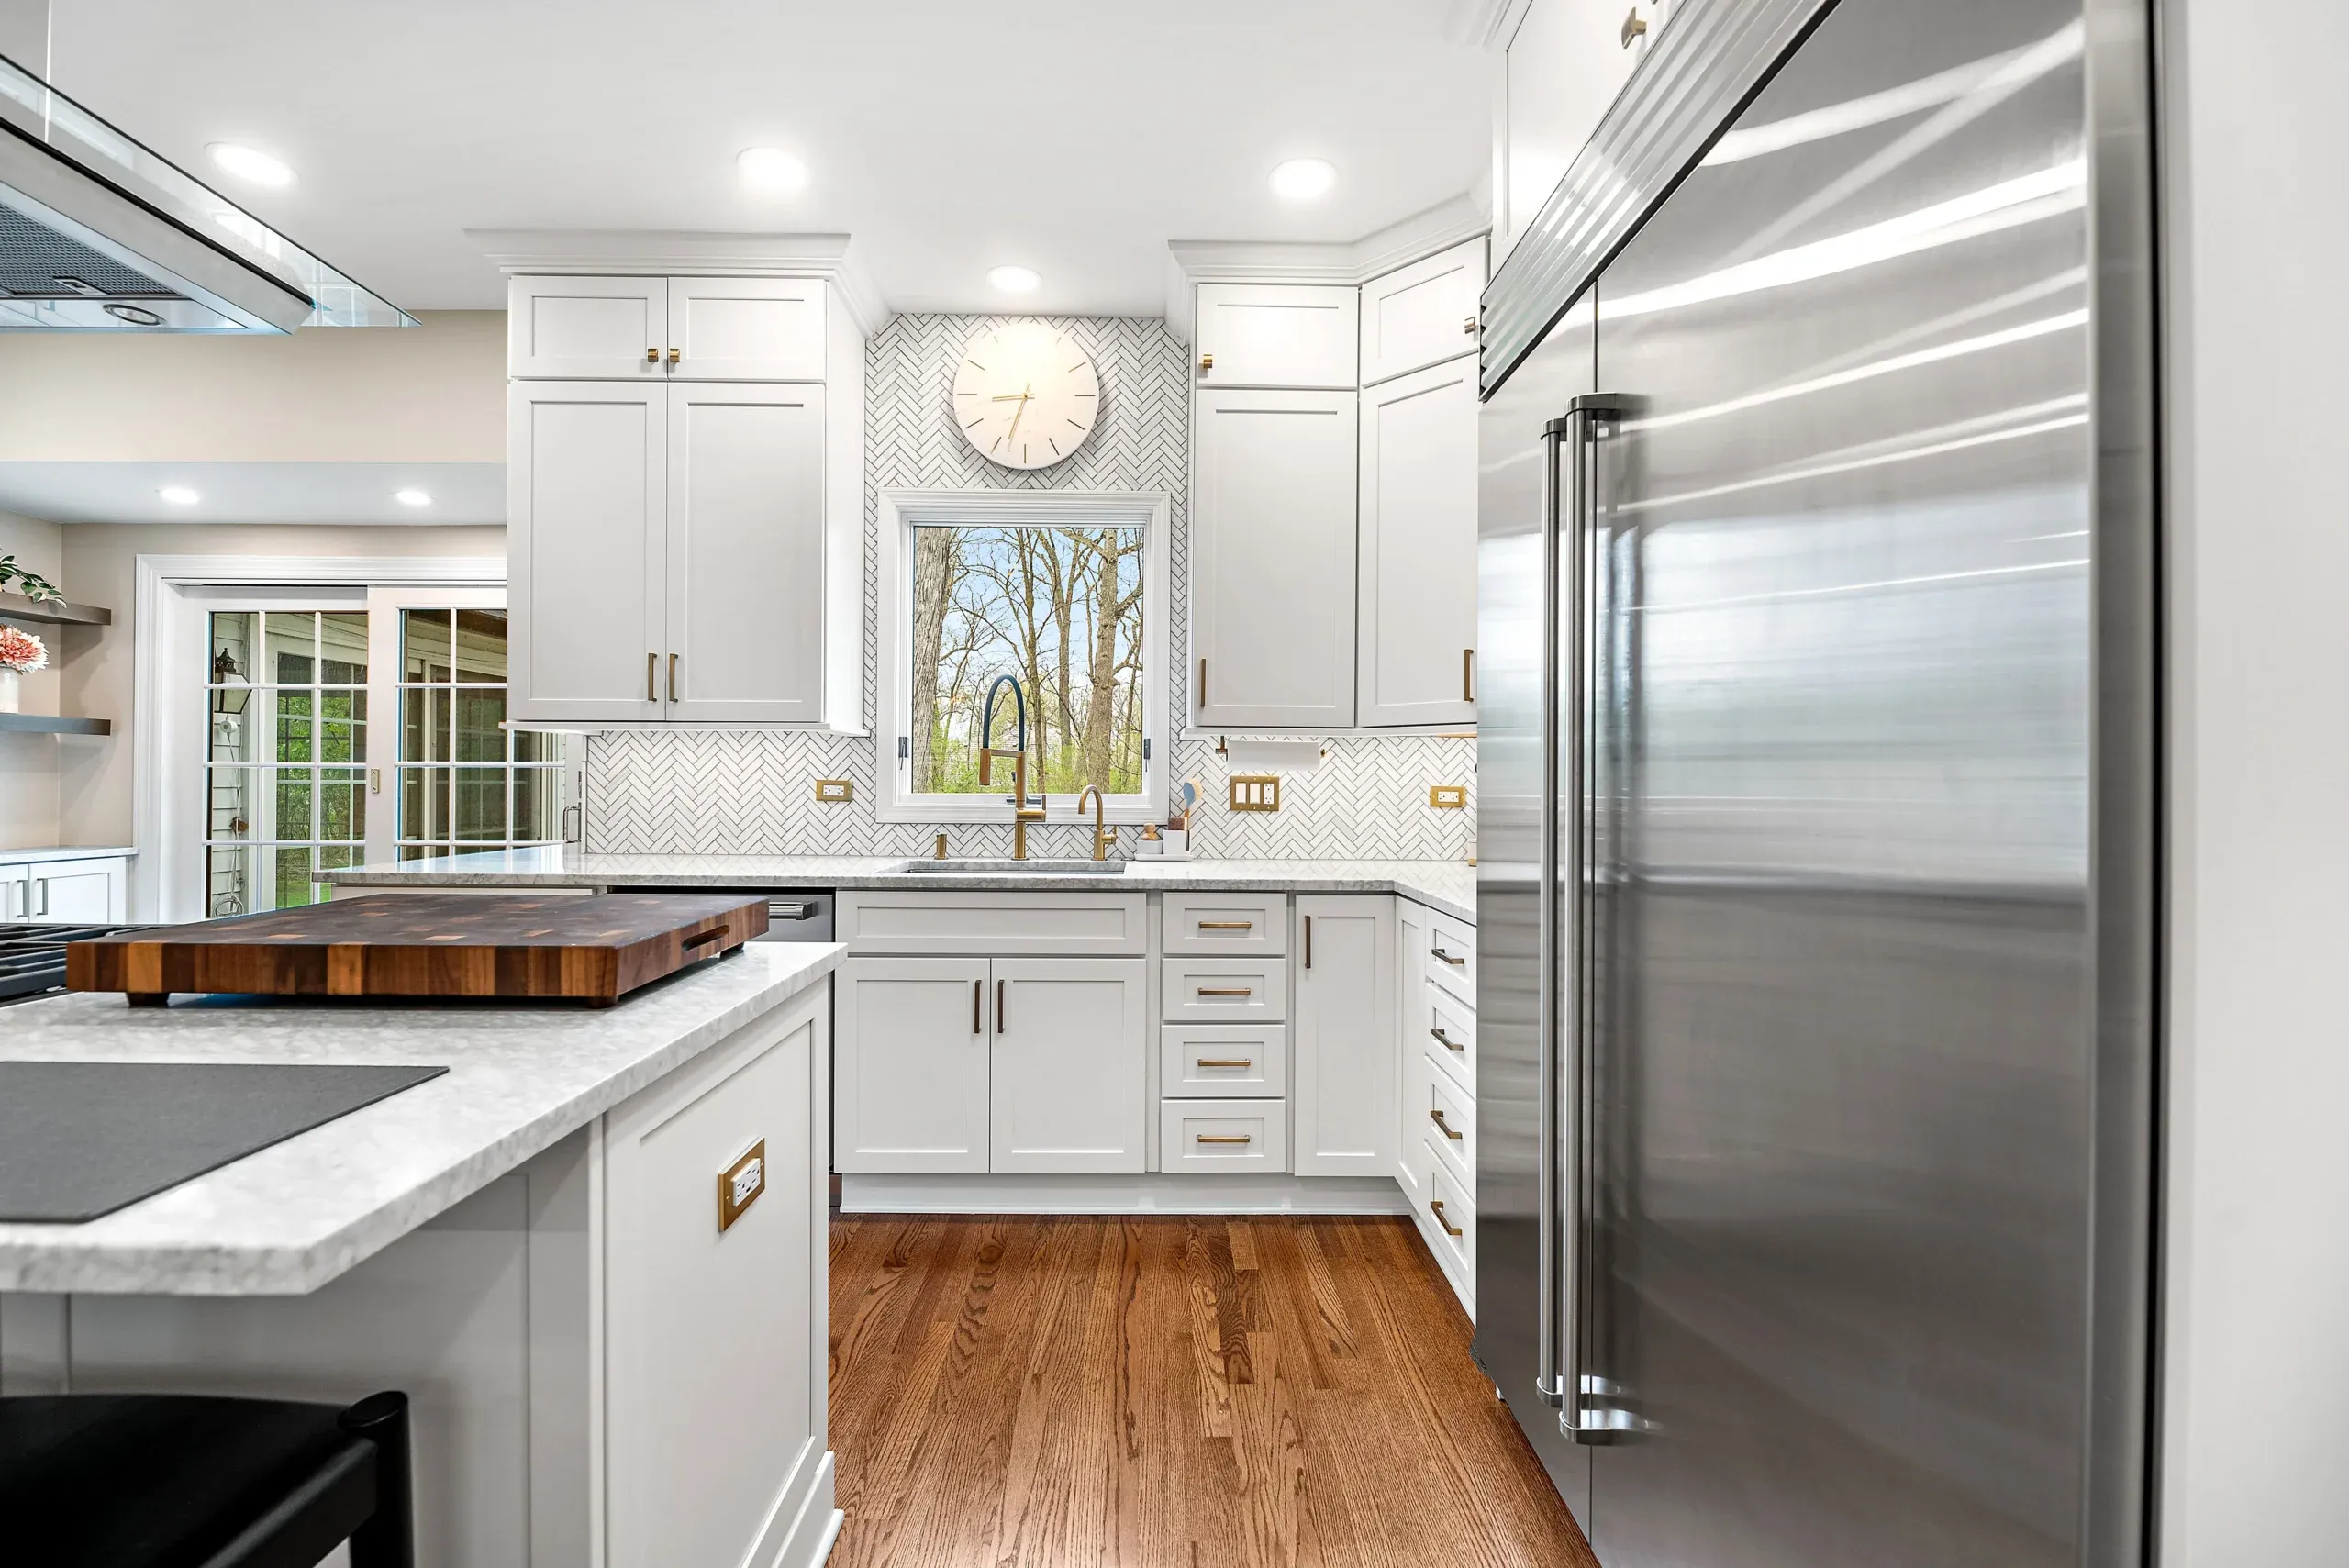
Materials: What Belongs Below Grade
Material choices in a basement have to account for conditions that don’t apply above grade: higher moisture levels, potential for minor flooding, temperature fluctuations, and limited natural ventilation.
Flooring: Carpet is the most problematic basement flooring material - it holds moisture, traps allergens, and is difficult to dry if water intrudes. Luxury vinyl plank (LVP) and luxury vinyl tile (LVT) are the most practical choices: waterproof, durable, comfortable underfoot, and available in convincing wood and stone looks. Polished or epoxy-coated concrete is another good option (covered in more detail in our basement concrete refinishing guide). Engineered hardwood can work in low-humidity basements but is more vulnerable than vinyl to moisture variation.
Wall framing: Metal studs resist mold better than wood in basements. Wood studs are commonly used but should be treated lumber where they contact concrete and should not be framed tight against the foundation wall - leave an air gap.
Insulation: Closed-cell spray foam on foundation walls provides both insulation and vapor barrier in a single application. Rigid foam board is a cost-effective alternative. Fiberglass batt installed against a concrete wall traps moisture and creates mold risk without a proper vapor barrier.
Ceiling: Dropped acoustic tile ceilings provide access to mechanical systems above and are standard in many finished basements. Drywall ceilings look more finished but require access panels for any mechanical equipment. The spray-painted exposed ceiling look (where the existing joists, ductwork, and mechanical are left exposed and painted a single dark color) has become popular and practical - it eliminates the dropped ceiling entirely, maximizes perceived height, and provides easy access.
Common Planning Mistakes to Avoid
Beyond the moisture and layout issues already covered, a few additional mistakes consistently cause problems:
If you are planning other remodeling work alongside the basement, our kitchen remodel timeline guide covers how to sequence major projects to minimize disruption.
Underestimating mechanical coordination. The basement typically houses the HVAC, water heater, electrical panel, and sometimes plumbing. Extending HVAC supply and return to new finished spaces requires duct sizing and routing that should be planned by an HVAC professional. A finished basement with poor air circulation feels stuffy and uncomfortable.
Poor lighting design. Natural light is limited in most basements. Recessed lighting on dimmers is the most flexible approach and avoids the institutional look of fluorescent strips. Plan lighting circuits before framing begins - adding circuits afterward is more expensive and disruptive.
Ignoring radon. Radon is a real concern in the Chicago area. Testing before finishing is a straightforward step. If levels are elevated, a sub-slab depressurization system - a relatively modest addition to the construction scope - addresses it.
Delta Remodels handles basement remodeling for homeowners across the North Shore, including Lake Forest, Highland Park, Winnetka, Northbrook, and the surrounding area. If you’re ready to plan your project, contact us to schedule a consultation. For more information on what we offer, visit our service areas page.
Ready to Start Your Project?
Schedule a free consultation. We bring design ideas, material samples, and honest answers.
Get Free Consultation